How to make an aquarium with live plants (for beginners)
A few years ago our son decided he wanted a fish tank for his birthday. Now, I could remember keeping fish as a child and i recall weekends spent removing all the contents out of the aquarium, traumatising the fish trying to remove them into a bucket and then after a few months my fish would always die.
But he was adamant he wanted a fish tank! So began hours of google research! Like i suspect you are doing right now 🙂 And as it turns out, there is a lot to know if i wanted to avoid my childhood failures.
It’s now been 3 years since his birthday and I’m happy to report we have been successful in our quest to keep fish. There has been the odd hiccup, like when i thought i heard running water (because i did hear running water!) his tank had developed a leak….. well, it was more of a crack!
We stupidly had tried to move the tank the day before whilst it was still mostly full, evidently causing a fracture. Thankfully due to all my research intriguing me sooo much, by this stage we had a couple more aquariums and we were able to relocate all of the inhabitants safely.
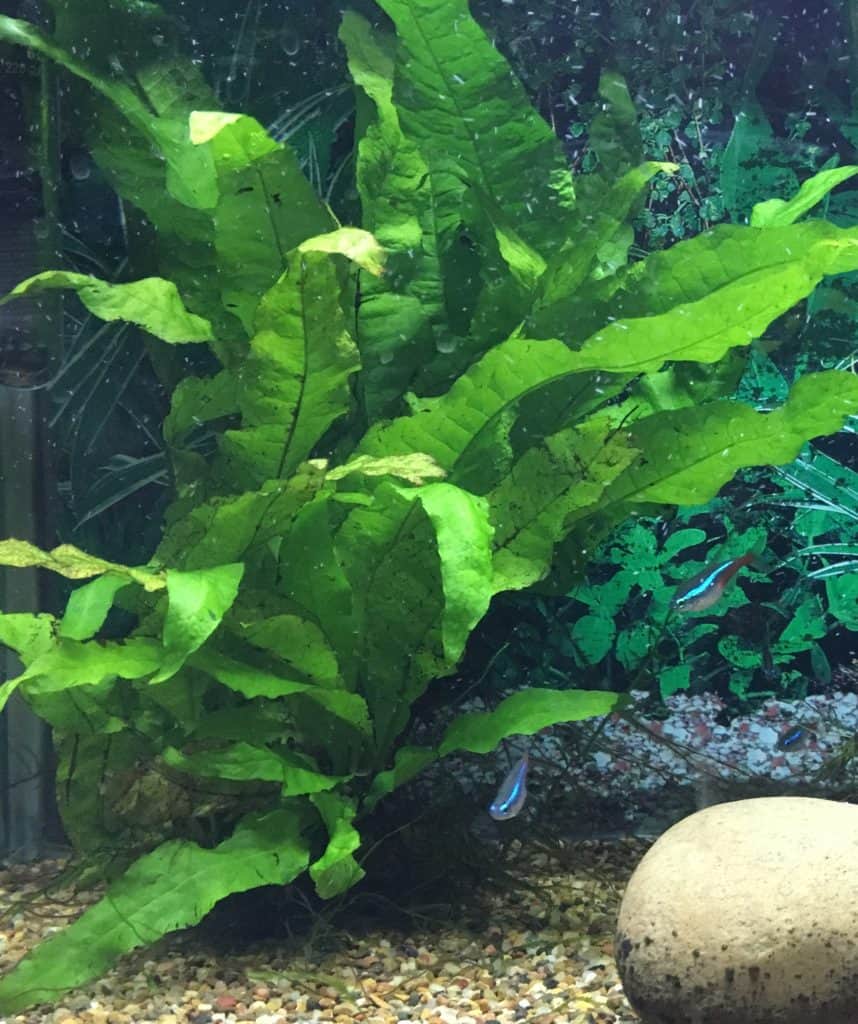
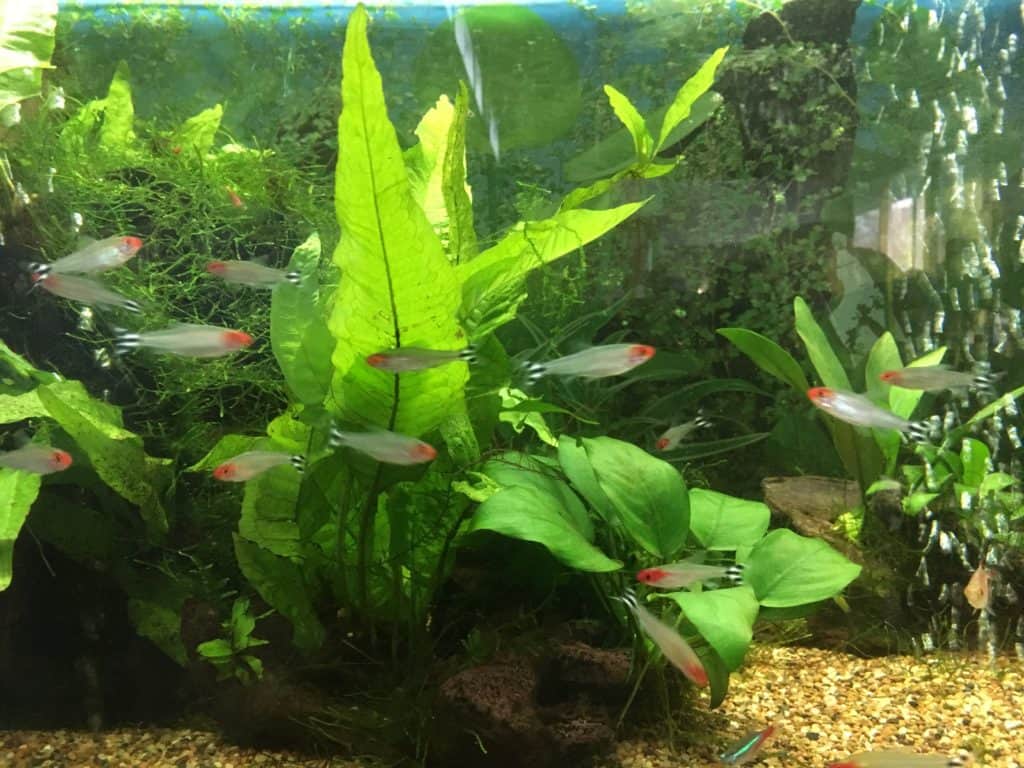
Over the last 3 years we have tried a few different aquariums and different setups, But, by far the easiest to maintain and the most pleasing on the eye, is a simple planted aquarium.
So this is our guide on how to make an aquarium with live plants for beginners. This is a guide for a fresh water tropical fish aquarium.
Selecting an aquarium
My first advice would be to start small. It’s very tempting to get swept up in the moment and leap right in and buy a massive tank. Please don’t. Aquariums do take a little bit of care and maintenance to thrive. They are going to house living creatures, so let’s make sure it’s something we enjoy doing before we get the biggest tank we can find on amazon! Our first tank (the birthday tank) was a simple 50L (US 13gal).
Filtration
When selecting the aquarium consider what type of filtration the aquarium will use. My personal preference is built in filtration. Aquariums with trickle down filtration like the one shown in the below video is my favourite. It’s super easy to conduct maintenance on and it has 3 ways to maintain healthy water.
Built in trickle down filtration in one of our home aquariums. So simple, yet so effective.
Another type of built in filtration which i like, is the built in sump. This works in much the same way as the trickle down filter system, as it pushes the water through 3 seperate compartments, purifying it as it moves through the system. Again, these are very simple and effective and pleasing on the eye as they are tucked away at the back of the aquarium.
Sump filters are usually hidden behind a black backing completely obscuring them from view. The photo on the left shows what the sump filter looks like from above. The right hand photo is looking into the aquarium, as you can see the sump is completely hidden.
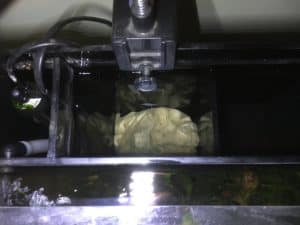
Above view of a sump filter in aquarium
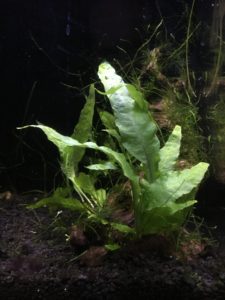
Planted aquarium with sump filter
They are my 2 favourite choices for filtration on an aquarium. Both are simple to maintain and are built into the aquarium, thus staying out of the way of the fish and making the aquarium much more visually appealing. Of course there are other types of filtration, such as sponge filters and canister filters, but as i have no experience with them i cannot give my opinion on their pros and cons.
Pump
I prefer to buy aquariums that come as a complete set (pump and heater included). If you buy a second hand aquarium you may need to purchase a pump separately.
As a general rule in a freshwater planted aquarium like the one’s we have created, is that the water should move through the filtration system approximately 5 times every hour.
For example, on our first tank, the 50L (13 US gal) the pump should be rated at least 250L (65 US gal) per/hour. If you follow this general rule, everything should run smoothly.
As i mentioned earlier, it’s much easier to buy an aquarium package with everything included. Do away with the headache of piecing together hand me downs, or multiple Ebay purchases. When you find a set up that appeals to you, just make sure to check that the pump is adequate for the system before purchasing.
Heater
For this set up you will require a heater. I’m going to recommend 3 super easy plants to grow, but all are tropical species. Obviously in locations where the winters get cold, like here in Victoria, it’s important to keep the aquarium at an optimum temperature.
A heater is not just necessary for the plants. I believe that for a planted tank, tropical fish are a much better option. They are more colourful, which lets them “POP” off the vibrant green of the plants.
Again, hopefully the aquarium you purchase comes with a heater, but if not, don’t despair. It’s very easy to select the right heater for the size of your aquarium.
The general rule for heater size is 1 watt per litre of water, that works out to be 1 watt per 0.264 US gallon. So for our 50L (13 US gal) aquarium we can use a 50 watt heater.
Those are the 3 main factors to consider when selecting an aquarium.
Substrate
The substrate is what we use to layer the bottom of the aquarium. It’s a very important part of the setup as it will house some beneficial bacteria and add visual appeal to the aquarium.
When choosing a substrate keep it simple and make a selection based purely on asthetics. The type of substrate you select can alter the water ph, personally i don’t dwell on this. After all, we are setting up a very simple tank.
Later on when buying your fish i’ll recommend you take along a water sample to your local pet/Aquarium shop. They will be able to analyse the ph of the water and recommend appropriate fish.
We have tried special aquarium soil, sand and different types of gravel. For a simple planted aquarium like this it will not matter, as we are not planting any plants directly into the substrate. So select something you like the look of.
My preference is to select something natural looking, i avoid all the crazy coloured gravel. In my opinion, it just doesn’t suit a natural looking planted aquarium.
Backdrop picture
In our aquariums we like to add a backdrop picture. This will hide all the cords and create a visually appealing look to the whole aquascape we are trying to create.
To apply the backing simply cut the picture to the correct length and height so it will perfectly fit onto the glass panel at the back of the aquarium. Then spray the glass with water, manoeuvre the paper into place and squeegee out any air bubbles.
It’s that simple! The picture doesn’t come off. We have backdrops that have been in place for years using this simple method.
Adding water
When adding water to an aquarium, there are 2 things that you should do.
Firstly, treat the water going into the aquarium with a water conditioner. A water conditioner will remove harmful metals and chemicals found in tap water. These chemicals make the water safe for human consumption but they are devastating to the good bacteria required to maintain a healthy aquarium. You will learn more about these good guys below.
The second thing your aquarium water should have, is conditioning salts. Yes, even fresh water aquariums require conditioning salts. These special salts help promote healthy gill function in your fish and provide electrolytes that should keep their colour vibrant.
By adding these 2 items to your aquarium water at the recommended doses you’ll get it started on the right path. Note that different products have different dosage rates, always follow the instructions.
Cycling the tank
Cycling the tank? what are you talking about? Did i miss something? It’s an aquarium not a bicycle!
Cycling the tank refers to establishing a colony of beneficial bacteria in the aquarium. When fish breathe and poo they produce ammonia. Too much ammonia in the aquarium will kill the fish!
Lucky for us, all around there are uncountable amounts of beneficial bacteria in the air, on the carpet, under my armpit (ew!) you get the picture. Once an aquarium starts to produce ammonia these awesome beneficial bacteria (called Nitrosomonas) move in and start processing the ammonia and turning it into nitrite.
Nitrite is not quite as bad as ammonia for the health of our fish but can still be deadly in high doses. But guess what? There is another type of beneficial bacteria (called Nitrobacter) and they process the nitrite into nitrate which is much less harmful for the fish. Nitrate is a great plant food!
And boom, that’s why it’s called a cycle. Below is a small picture graph showing how the cycle works.
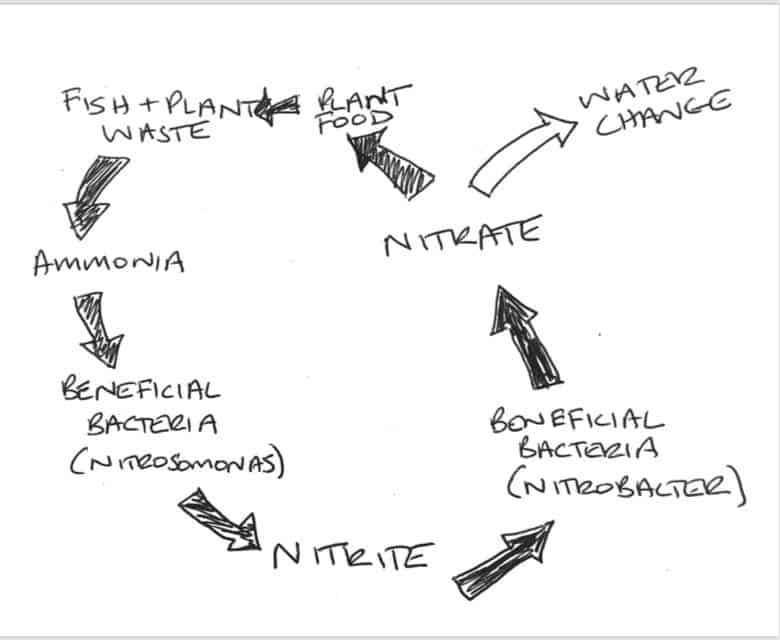
Nitrogen cycle in aquarium
Understanding and maintaining this cycle (called the nitrogen cycle) is critical to the health of the inhabitants of the aquarium. Remember when i mentioned as a child my fish keeping was a dismal failure? This was due to not understanding the nitrogen cycle. See my mum loves everything clean, like hospital surgical table clean (she is a nurse). In and aquarium, too clean can be disastrous!
Those beneficial bacteria we mentioned cannot live in sterile environments. When we take water from a tap it contains chlorine (city and town water). Chlorine will kill the beneficial bacteria. Unless you have access to rainwater or clean bore water, it’s critical that you treat the water with a de-chlorinator before putting any into an established aquarium.
Aside from boiling the water, the only other way to remove chlorine from the water without chemicals is by letting it sit out in the sun for 24 hrs. This causes the chlorine to evaporate leaving behind pure H2O. Having said that, it appears that more councils are using chloramine, which is much more difficult to get rid of. Generally speaking, the leaving out method will not work, Trace amounts of chlorine and other chamicals may still be present and for the sake of a few dollars overall, you may as well use the conditioners available.
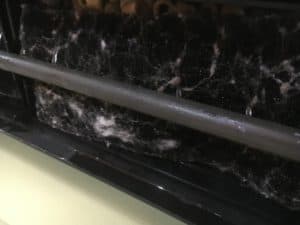
Aquarium filter. Coarse sponge for filtering out solids
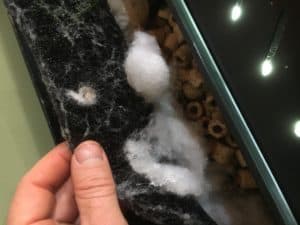
Aquarium filter. Wool for filtering smaller solids.
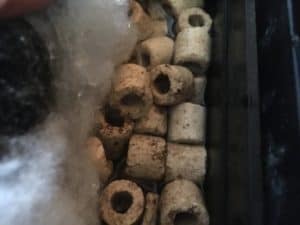
Ceramic noodles, home for large numbers of good bacteria
Growing beneficial bacteria
As mentioned, beneficial bacteria live all around us. Once the aquarium starts to produce ammonia, beneficial bacteria will arrive to convert it into nitrites. There are a few ways to kick start the growing of beneficial bacteria.
The first method is to simply add a fish or 2 to the new aquarium, immediately they will start to produce ammonia which will then begin the process of the nitrogen cycle and thus the beneficial bacteria will grow.
Another method is to purchase beneficial bacteria in a bottle. There are many products out there, they will quickly add the beneficial bacteria to the aquarium to speed up the process.
The third way to kick start the growth of beneficial bacteria is to use some filter media from an already established aquarium. An aquarium that has been up and running for a long period of time is teaming with beneficial bacteria.
Filter media
Filter media are the things we put in the aquarium to filter and purify the water. There are 3 types of filtration as shown in the video at the top of the post.
First we have mechanical filtration, this is simply some mesh or filter wool that will capture solid waste (fish poo, dead plant material) that moves through the filter.
Second is chemical. Chemical filtration keeps the water crystal clear. Most people use activated carbon. I find that chemical filtration is unnecessary in a simple planted aquarium.
Third and most important is the biological filtration, this is the awesome beneficial bacteria. Beneficial bacteria will be present on all surface area within the aquarium, But we want them to have a very large presence in the filter.
To do this we use bio balls or ceramic noodles, these are the filter media. Basically they offer the perfect habitat for housing beneficial bacteria and because the water is constantly passing through, around or over this media (depending on the fltration system). The beneficial bacteria continue to work on making the water for the fish safe.
Important
In summary, the most important thing is getting the filtration and cycling of the tank right. This is going to make life so easy for you to maintain the aquarium, whilst also providing a safe environment to the inhabitants of the tank.
Adding plants
Adding plants to our aquarium is a great way use up some of the nitrates that the good bacteria create for us. Remember nitrate is a plant food.
There is a huge array of options when it comes to plants for your aquarium. But this is for beginners and I’m here to tell you the 3 easiest plants to add to this simple aquarium with living plants.
Java moss
This plant is not much to look at out of the water, but once you put it in, it really looks like underwater moss. It can be grown on rocks, drift wood or left to float around inside the aquarium. It doesnt require any special lighting or fertilisers.
It is fast growing which is excellent as it can quickly use any excess nutrients found in the water. Excess nutrients can lead to unwanted algae growth, but with this plant in an aquarium that should never be a problem.
It can be propagated easily by just pulling pieces off a larger clump. It doesn’t have any roots, so the piece will live and grow independent of the mother clump.
Because it grows very fast, from time to time we just divide clumps as needed, we actually managed to make a little extra cash selling it locally on ebay! 🙂
Java moss gets quite dense in established clumps which provides exceptional hiding places for shrimp and baby fish. It’s a must have addition!
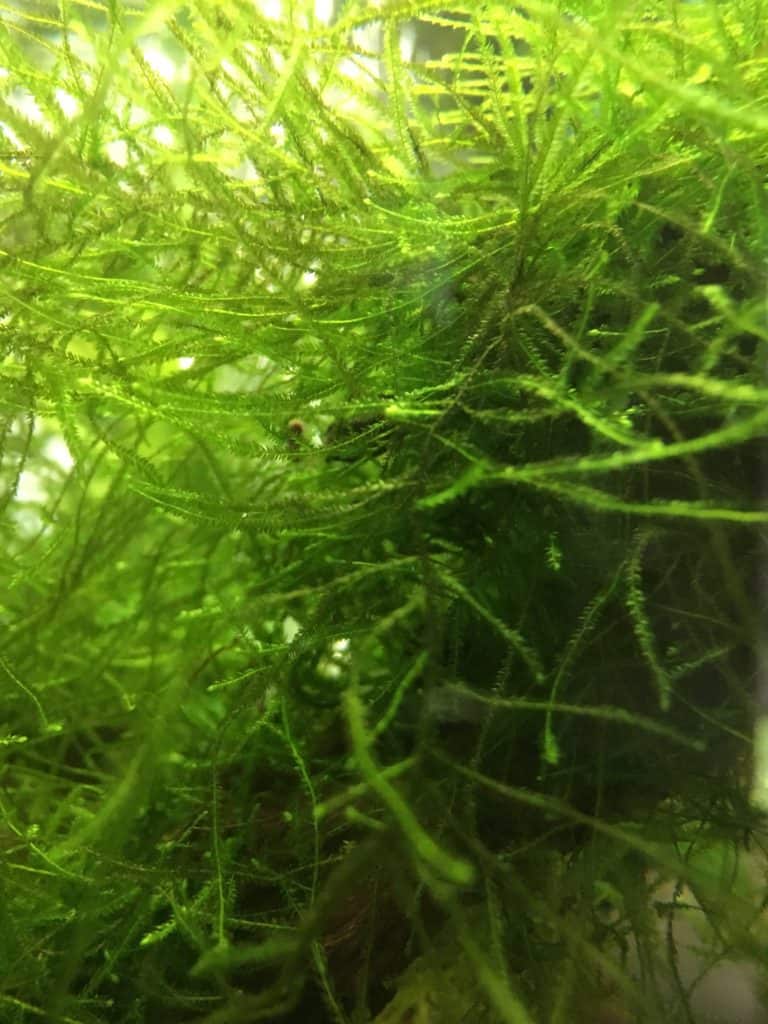
Close up of java moss growing on drift wood
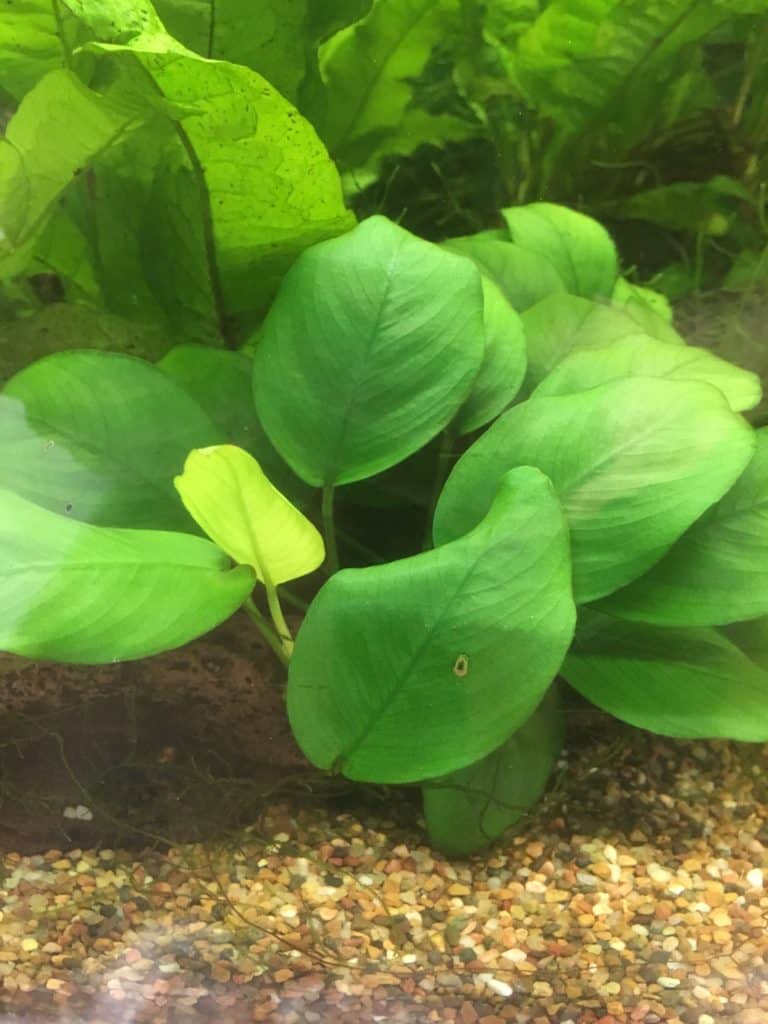
Anubias growing on rock
Anubias
Another awesome plant choice. This little beauty can be attached to driftwood or rocks in the aquarium. It can also be planted into the substrate. It is important not to fully cover the rhizome as this can cause the plant to rot.
There are many different varieties available. Pictured here on the left, is a dwarf variety. It’s very slow growing. This is fine as it requires no maintenance.
There are larger growing varieties that will obviously grow faster.
Anubias creeps along whatever it’s attached to. Sending new shoots straight out in front. It’s easy to propagate simply by cutting the rhizome (stem at the base of the plant) ensure you have some root and leaves and this cutting will grow.
Like Java moss, anubias doesn’t require any special lighting or fertilising.
Java fern
Java fern, probably my favourite plant. It’s fast growing and looks spectacular! This fern is a very structural plant and i find it excellent to cover up the corner of the tank where the pump and heater are situated. Making the tank more visually pleasing.
It easily attaches to driftwood, i find it to be a little harder to attach to rocks, however it can be done with a little perseverance.
Because it’s fast growing, it, like java moss is excellent at absorbing some of those nitrates in the water.
Again, this plant requires no special attention with lighting and feeding.
Can easily be propagated as it forms clumps naturally, simply divide as needed. You’ll also notice from time to time it will sprout a brand new fern from near the tips of existing leaves. These can be removed once their roots are established, and relocated.

By attaching these 3 plants to large pieces of driftwood or rocks you can create quite a stunning landscape. Because all the plants are living, it is much more like a natural ecosystem. Which i find ultimately makes maintaining a living planted tank so much easier than an artificial planted tank.
Fish and shrimp
Adding living creatures to your underwater ecosystem is going to be the “icing on the cake” of your planted aquarium. The different colours of the fish or shrimp look amazing, contrasted against the backdrop of plants.
Bio load
When adding fish you need to be aware of bio load. This is essentially the amount of waste that the fish produce and how much your particular aquarium can handle.
As a general rule look to stay within the 2.5cm per 4 litres rule (or 1′ per US gal) as a beginner. What this means is that for each 4 litres (or 1 US gal) of water within the aquarium you can house 2.5cm (1 inch) of fish. So as an example a neon tetra when fully grown is about 2.5cm (1 inch) in length, so in a 40L (10.5 US gal) aquarium we could house 10 neon tetra’s within that system.
This is a very broad rule but i’ve certainly found it to be very helpful when starting out. It’s for this reason that i prefer to keep smaller fish species, as they have a smaller bio load (makes sense, smaller fish, smaller poo!) this allows me to keep more fish. More fish equals more movement which i find much more interesting.
But the choice is your’s, just remember to calculate based on the fish when it’s fully grown! Not the size it is when you purchase it.
Shrimp are great additions to any planted tank, and their bio load is almost non existent! I don’t even factor them into the equation.
Adding shrimp to the aquarium helps keep it clean, as they will consume any uneaten food. They will even eat any dead fish if you fail to notice them. I find they really help maintain a healthy ecosystem within the aquarium.
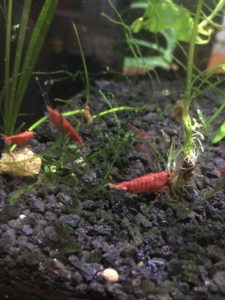
Cherry shrimp in planted aquarium
Cleaning and maintenance
The last thing you need to be aware of is the cleaning and maintenance requirements for an aquarium with live plants. Remember the nitrogen cycle and the beneficial bacteria? Well they’ve already done all the heavy lifting for us.
We just need to remove some of the excess nitrates form the aquarium. Because the aquarium is replicating a real world ecosystem, we need to recreate new water entering the system.
In the real world aquatic environment water moves down steam bringing in new water and removing old dirty water. To replicate this each week we should remove 10-20% of the water and replace with new water. This will prevent the nitrates building up to dangerous levels.
When conducting a water change, i like to give the substrate a light vacuuming (see below picture). This removes some of the fish solids. It’s very easy to do on this type of planted aquarium, as i like to anchor all my plants onto wood or rock. This makes them simple to move around the tank as needed.
Also while we have this small amount of water removed, it’s a good time to quickly rinse the sponges that are collecting solid wastes in the filter. We use the water from the aquarium because it is safe for our good bacteria living on our filter sponges (we don’t want to hurt these guys and girls!)
We can then replace the water we took out with new water. Remembering to treat the water with water conditioner and aquarium salts at the required doses.
Be sure to throw your fish tank water onto your veggie garden. They will love the nitrate rich water 🙂
One more tip for cleaning is that sometimes unsightly algae can attach itself to the glass of the aquarium. This is totally fish safe but can look unsightly, i like to use an old credit card to scrape it of the glass before i vacuum. The credit card will not scratch the glass like some fish scrubbing pads i have used in the past. On another note, purchasing a Pleco (or other type of suckermouth cat fish) will do wonders for your glass too!
While I’m on the topic of scrubbing pads, only use aquarium safe products. Some kitchen sponges can have chemicals that will be harmful to the beneficial bacteria.
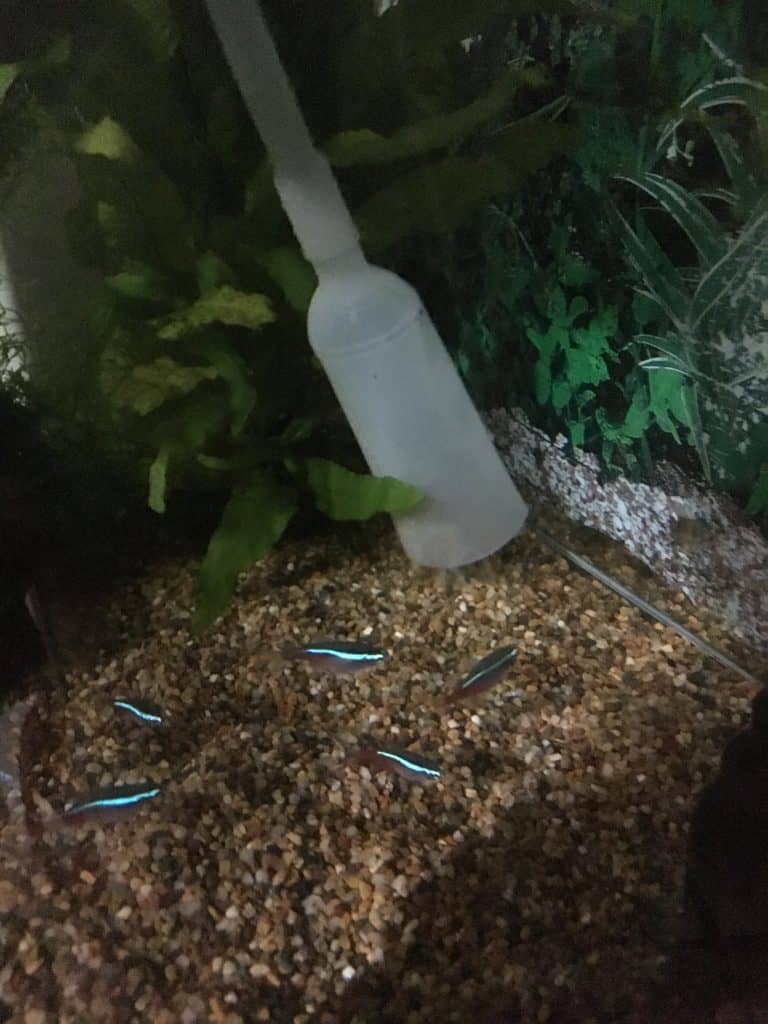
Gravel vacuuming aquarium
Summary
That is how we go about creating an aquarium with live plants. We hope you’ve found this article helpful and it has given you a good base to start your aquarium journey. If you did enjoy this article please subscribe to show your support. Thanks so much. Happy fish keeping 🙂

