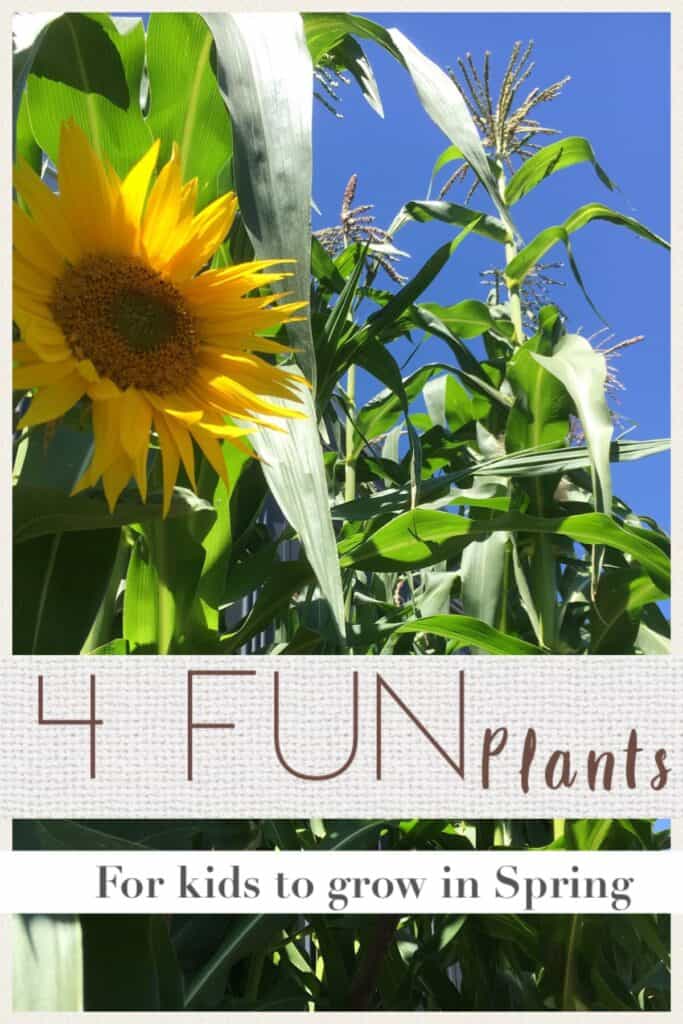
Want to get your kids outside more?
Are you interested in teaching them where food comes from?
Nurturing their green thumb? Well, this article will show you exactly how to do that!
Recently I decided it was time that the kids had a little more responsibility around the house, we sat down and discussed what their jobs could be, related to their age and competency.
While doing this, I thought why not bring some of those jobs outside?
Too many kids don’t get enough Vitamin D and interaction with beneficial microbes in the soil, or just the mere enjoyment of being a kid and exploring their potential in the great outdoors!
So, this spring we purchased some seeds and the kids helped right from the start, to begin this new project.

So what do you need to do?
Find a good source that sells heirloom or non GMO seeds, it’s easy enough to check out your local garden centre or even hop online and order them there (which is what I did).
If you’re in Australia a couple of companies I can recommend are Eden seeds and The seed collection.
The varieties I chose for this project are, Sunflowers, Cherry tomatoes, Corn and Cucumbers.
Why these?
Well kids are pretty impatient, and they like to see quick results. These varieties are quick to grow.
The kids have especially been excited by the corn and sunflowers! Their sheer size is astounding. They’re both almost taller than our garage, the sunflowers have brought in lots of bees, which we’ve been enjoying watching.
That created an opening to talk to the kids about the important role bees play in our survival, where honey comes from and other facts about bees.
The corn raised some interesting questions as it grew and we were all curious about what parts are what and how it works (more on that later).
Cherry tomatoes are great for Kids as they love to pick them and eat them while they’re playing outside, they’re a perfect bite sized snack!
Cucumbers were not actually part of our original project, however I’ve recently seen an article on companion planting and they are touted to make an excellent partnership, not to mention that they will use the corn stalks as a natural trellis!
So this one’s not tried and tested by us but I simply couldn’t resist by throwing it in! And i look forward to trying it out next year.

When to start planting the seeds?
Depending on where you live, you would generally start raising your seeds indoors 6-8 weeks before the last average frost date.
For example, here in Victoria our last average date for a frost is around the 15th September. So we would start sowing our seeds at the end of July to the start of August.
You need to work out your own schedule in relation to where you live. By starting early, our seeds will be ready to plant about 2 weeks after our last frost date.
What to do
Step 1
Order your seeds. If you have plenty of room you could order several packets of Corn and Sunflowers, maybe even try a few different varieties. One packet of Tomatoes and Cucumbers should be sufficient.
Step 2
Buy some good quality potting mix and fill up some small pots, we used 2” tubes, as we have a small Wholesale Nursery these were available for me to use.
Other options could be egg cartons, toilet paper rolls, actual egg shells, if you do a simple search on Pinterest for propagation you’ll find plenty of other ideas for things to use.
Some garden centres also sell seed raising boxes, which can be handy if you don’t have a cold frame or room to put your seeds in a warm sunny position indoors. They can get pricey though.
Step 3
Water the tubes lightly so that they are moist. Use a skewer to make a small hole to the depth recommended on the planting instructions.
As a general rule of thumb, seeds should be planted down to a depth of two times the width or diameter of the seed.
As an example, a large bean seed which is up to 1/2 an inch wide, may need to be planted an inch deep.
Tiny seeds can just be scattered on to the surface and pressed in lightly or covered very lightly with a sprinkling of soil.
Step 4
Water the seeds and set them in an environment which is protected from the elements. We used our igloo, other ideas are cold frames, seed raising boxes, or a sunny spot near a window.
Keep the seeds moist, but make sure you don’t over water as this may rot the seed.
Make sure that there are no snails and slugs around to eat your emerging shoots. Unfortunately we suffered huge losses to our sunflowers from this.
Step 5
Watch your new plants grow!
Step 6
While you are waiting for your seeds to grow to a good size and the weather to warm up for planting, it’s a great time to get outside and start preparing your garden beds.
This can be a lot of fun for the kids, get them a little trowel or spade and they can do some digging! Turn over the area you have set aside for your plants, incorporate some compost or manure.
You can talk to your kids about how compost is made, the sorts of things that can be added, or the things we shouldn’t add.
Step 7
When the weather has warmed up and fear of frost has passed it’s time to get our plants in the ground!
Get your little ones to dig some holes, preferably in some sort of rows!
Or you can get the holes ready and they can come in and do the planting. Work out where you want to plant what, you could place the corn in a large block at the rear of your bed with some cucumbers in between near the front.
You could also do a big block of sunflowers or simply a row with tomatoes in front, the tomatoes might also be able to utilise the sunflower stalks as a type of trellis.
Plant the seedlings deep enough so that they are stable, water them well. I like to use a seaweed solution such as Seasol or you can use some worm juice if you have a worm farm, this helps to reduce any transplant shock and to give the roots a good healthy start.

If you want to layer some mulch around the plants you can, we sometimes use sugar cane or pea straw, but it’s not necessary.
Now sit back with a cuppa and watch your lovely plants grow!
Keep the kids involved by getting them to do some watering. Fertilise every few weeks with Seasol or worm juice, the kids might find it fun to mix this up for you.
If you’ve got a worm farm, it’s a great opportunity to talk to your kids about how they work, what you feed them, what they do to the soil, get the kids to hold them.
Interaction is fun and kids learn better with a hands on experience.
As your plants reach maturity you’ll notice some changes, the flowers forming, bees pollinating, fruit appearing, talk to your kids about what is happening and how it all works.
I’ve grown corn before and never noticed how unusual it is. I knew that the ear (or cob) was formed at the base of the leaves (node), but I couldn’t work out what the tassels on top were for?!
Well after a little digging I learned that the tassels are the male reproductive parts and the ear is the female reproductive system.
From the ear appear hundreds of threads called silk, these get pollinated by the tassels which are above them. Each silk is connected to a pair of eggs, which once fertilised become the kernels!
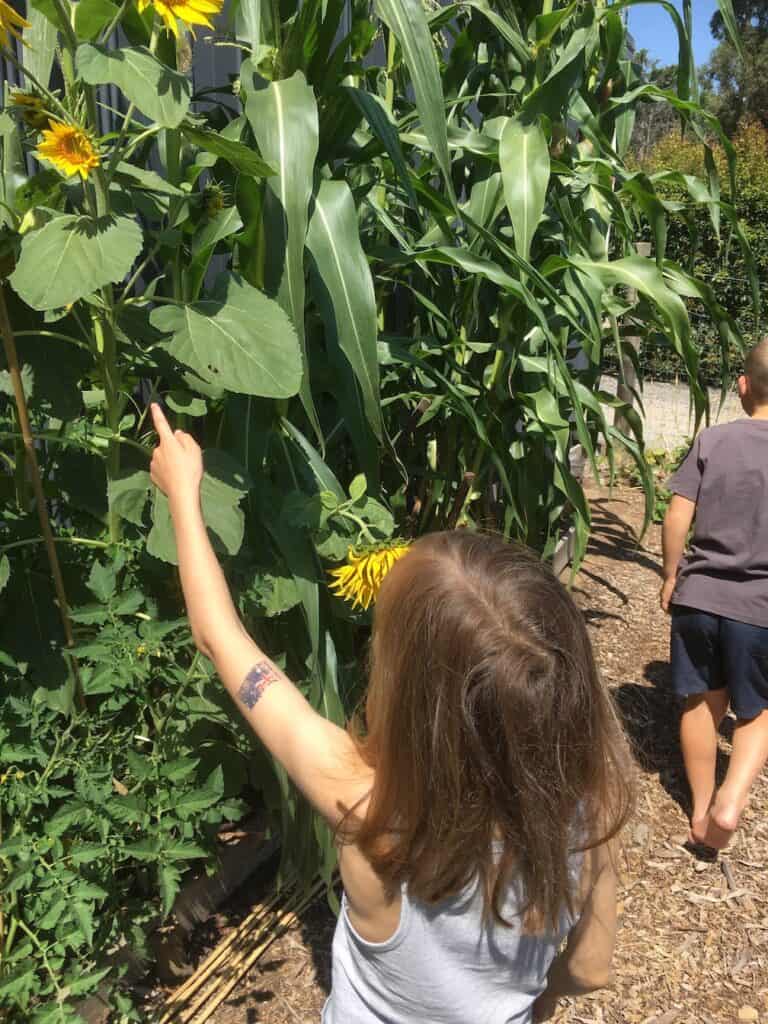
All very fascinating… these are the sorts of things you can discuss with your kids, and perhaps you’ll learn new things as you go too. Like we did.
Encourage your kids to harvest the fresh vegetables when you need them, show them how to, so that they don’t do too much damage, and enjoy the food together as a family, praising your kids for what they’ve produced all from a single seed.
Hopefully this has given you some inspiration to get out in the garden with the kiddos, the best way to share in our everyday wit journey is to subscribe to our email list, follow us on instagram and pinterest.
Happy planting 😉
