
How to propagate Convolvulus cneorum- silver bush
Convolvulus cneorum- silver bush is a relatively easy plant to propagate. In this article we will describe how we propagate silver bush using cuttings.
A good plant to be propagated by the home gardener. In our nursery we do not use any bottom heat or over head misters. We do have a hoop green house that we keep our cuttings in, but I have propagated these on our back porch and have had no problems.
Selecting cuttings
Always select a healthy plant to take cuttings from. A cutting is a clone of the mother plant, a sickly plant may have a genetic disposition to disease and should be avoided. Nor do you want to take any cuttings from plants that may have pests or is otherwise unhealthy looking.
These cuttings were taken in late summer. The best time is from spring-autumn, however winter cuttings will also work but you’ll just need more patience whilst waiting for the roots to develop.
Cut off some nice strong, healthy branches. Avoid any really old wood, we want to use strong new growth which is firm (semi- hardwood). Try and select stems which look as if they are going to shoot new growth (see the picture below).
We like to use most of the branch apart from the very tip. We just find we get a bushier plant by avoiding the tip. Also the tip generally houses the flowers, we don’t want our cutting putting energy into the flower and not re-shooting.
To create the cutting, cut the branch just below a leaf node (this is where the leaf is). Then move up the stem and cut just above another node. Try and keep the cuttings around 7cm (3″). Strip away the bottom leaves but leave one or two at the top of the cutting. (see pictures below).
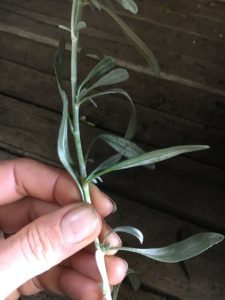
Branch showing signs of new growth
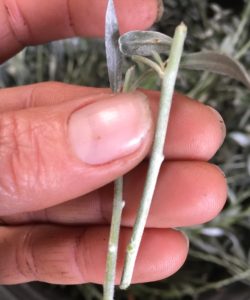
How the cutting should look
Striking the cuttings
To strike the roots we need to put the cuttings into a medium that will hold moisture, allow good air flow and drain well. For this, we personally use a mix of perlite and peat moss.
We mix together 90% Perlite with 10% peat moss. Perlite is a natural volcanic rock that has great moisture holding abilities whilst also being free draining and sterile. Peat moss has small amounts of nutrients and micro-organisms.
We mix this and fill a seedling tray, then lightly water. If the cuttings are quite soft and flimsy we’ll need to use a skewer to create a hole in the mix and then insert the cutting.
We expect a success rate of around 85%, so put a few extras into the mix to make up for any losses.
Once we have all the cuttings in the mix, they need a thorough watering. We water until the water runs freely out the drain holes of the seedling tray.
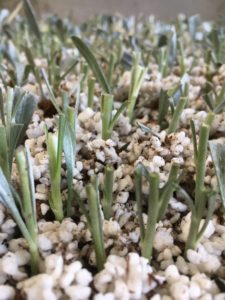
Cuttings in perlite peat moss mix
It’s going to take up to 3 months for the cuttings to develop a root system. During this time they need to be housed in an area that is sheltered from direct sunlight, wind and temperature extremes.
Keep the perlite and peat moss mix moist. Avoid overwatering as it can lead to rot or a fungus outbreak.
Potting the cuttings
Once the roots have developed we can then pot the cuttings into a good quality potting mix. As I mentioned it can take up to 3 month for the root system to develop, but we usually start looking for development after about 6 weeks.
To check for root development lift the seedling tray and look underneath. Generally i would pull out a cutting to see if it has developed any roots, however, convolvulus roots are super fragile and will brake easily. So i recommend you don’t pull one out to have a look, simply check under the tray.
Wait until there is a consistent coverage under the tray. There’s always a few that start before the rest, let them all catch up.
Once again, the roots break very easily, so care must be taken to remove the struck cuttings. We use a skewer to gently tease/leaver the cuttings out without breaking the roots. Sometimes giving the tray a little shake up, can loosen them a little too.
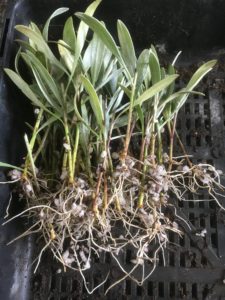
Convolvulus cneorum-silver bush cuttings
When potting use a good quality potting mix, something with trace elements to give your young plants a good head start. Also select a well draining mix as convolvulus cneorum do not like being too wet.
Once you’ve planted all your plants water thoroughly. We like to use a seaweed based fertiliser for this first watering. We find it leads to a faster, more robust root growth.
The freshly potted plants should once again be stored in a well lit sheltered area until they start to develop new growth and a larger root system.
After 4-6 weeks you should be able to move them outside into direct sunlight. Once the roots are filling the pot your new plants can be planted into the garden.
Below is a short video showing the above steps. We hope this was helpful and would love it if you subscribed to our mail list. Happy planting:)
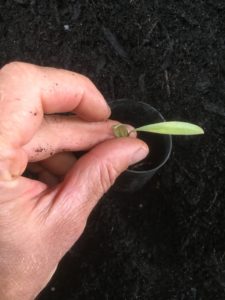
Potting silver bush cutting
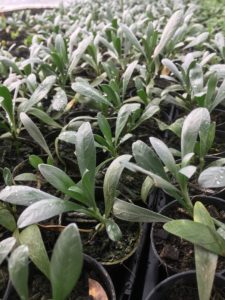
Silver bush grown from cuttings
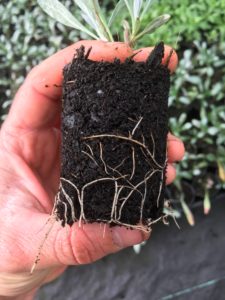
Root system on silver bush
Propagation Kit
We have also put together a resource page that contains links to the products we use or similar. If you want to check that out click the link.
CLICK HERE TO SEE OTHER PLANTS WE PROPAGATE
Propagate convolvulus cneorum- silver bush video
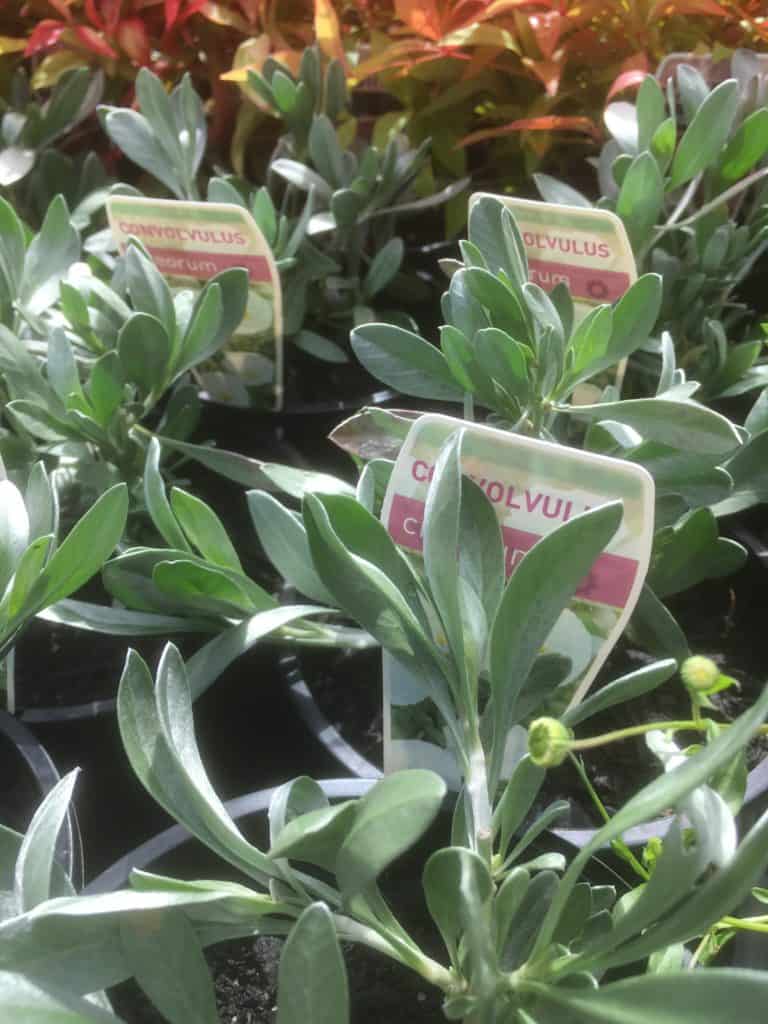
Convolvulus cneorum (Silver Bush) Information & Care
Convolvulus cneorum is a very hardy evergreen shrub. It has silvery-grey leaves which are quite silky to touch. It produces masses of pinkish flower buds that open into single white trumpet shaped flowers from mid spring into summer.
Silver bush can be used in multiple situations. It’s a great choice for borders and rockeries, cottage gardens and can be grown in containers.
Performs best in moist well drained soil. Can be grown in full sun and part shade. It is tolerant of dry periods once established. By removing spent flowers, the flowering time can be increased. Prune well after flowering to keep a nice shape.
Cultural notes
Botanical name: Convolvulus cneorum
Common name: Silver bush
Family: Convolvulaceae
Native to: Europe into South-West Asia
Flowers: Spring-Summer
Position: Full sun, Part shade
Height: 30-40cm
Width: 30-40cm
