Why we added a DIY garden stream and the benefits that come with it.
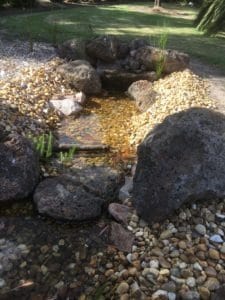
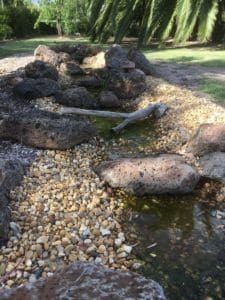
We added a DIY garden stream to our wildlife pond. I did this because i wanted to add extra filtration. The stream also adds visual and audio appeal to the area. It also breaks the garden area around the wildlife pond into 2 separate and distinct environments.
Filtration
Let’s talk about the filtration aspect. In the research i did before building a pond, I became worried about spending all this time and money on a pond that might become a stagnant, algae producing eyesore. Originally i was planning to use a bog filter in the wildlife pond and read up about them extensively. However, i ultimately decided i would use the stream as a filter as I’ve had some experience with filtering water through the construction of our grey water wetland and our aquariums. I figured i could combine both aspects of each and apply them to the stream.
The stream becomes a filter because as the water moves through and over millions of beneficial bacteria that colonise the rocks, they purify the water just as they would in the aquarium setup. Then the water plants living on the margins with their root systems in the water help to remove any nutrient build up, just as the wetland does. In the following months after completion of the pond, the water is clear and healthy, I’m able to surmise that the stream has been a great filtration method.
Visual & Sound Appeal
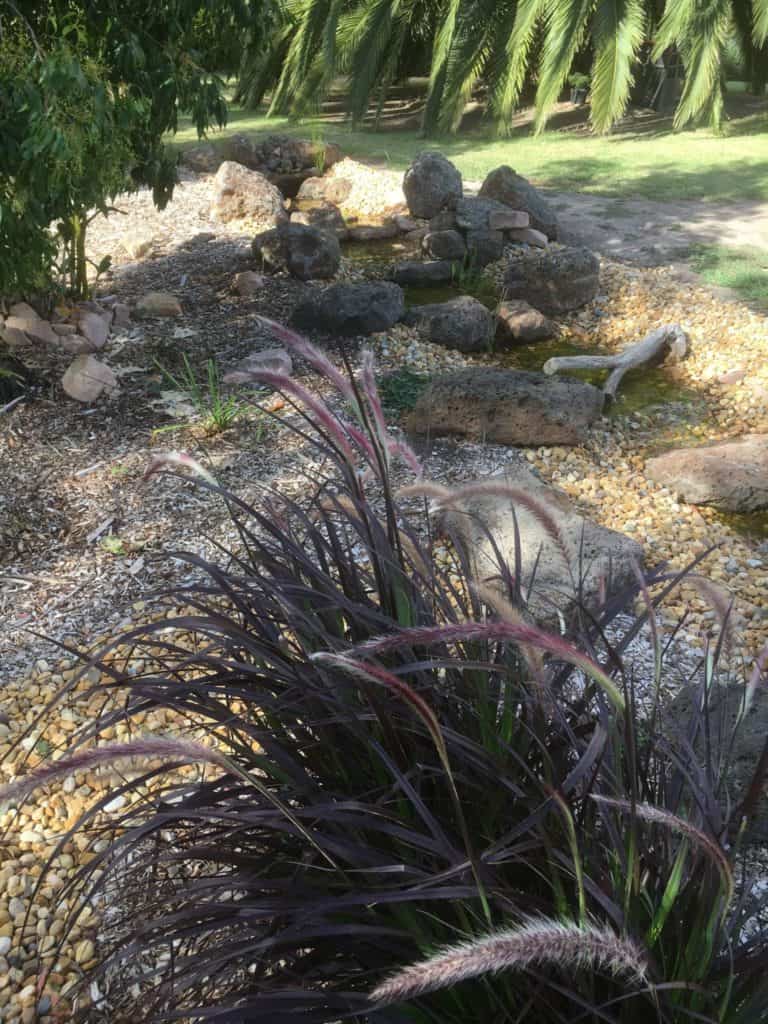
Who doesn’t love the sound and visual impact that water brings to a garden landscape? By adding a stream to the wildlife pond we were able to add many more areas to the garden where people and animals could interact with the water. The larger rocks that the water bends and meanders around provide excellent viewing spots, with every rock providing a different and unique viewing angle. Stepping stones over and through the stream provide the kids with great entertainment any time of the year. The sounds as the water makes its way from one pool to the next, before descending into the main pond. The added dimension that it provides to the overall landscape, with larger plants at the back providing the backdrop to the smaller border plants along the banks.
I love the way the stream divides 2 different parts of the yard. It forms a perfect physical barrier. We have a nice grassy area at the front where the kids can run around, this leads all the way up to the stream. Then once you cross over the stepping stones onto the other side. You find yourself in a lush almost rainforest environment. The noises of the road seem to melt away.
Tips to build a DIY garden stream.
Location
-Firstly, you need to select a site with some fall and a location that you will be able to see and interact with the stream. Also select a shaded to semi shaded site as this will help keep algae at bay. It doesn’t matter wether its steep or shallow grade just as long as its not uphill. Steep areas provide the ability to add dramatic waterfalls. While shallow grades will produce softer ambient sounds. Our grade was shallow, so no dramatic waterfalls for us!
Dig or not to dig
-You can either build up or dig down to provide the banks. We used both tactics, we had to dig down to provide shelves and pools where the water could sit. As ours is a very shallow stream we created pools that the water moves through, this allowed slightly deeper areas where the water slows right down.
Add mystery & adventure
-Add Bends. They’ll provide great places to position waterfalls or rapids, use them to change the direction so that the stream maintains a level of mystery. It’s a good idea to meander the stream so that you cannot view the stream in it’s entirety from one location. This encourages us to move around the feature, in other words we will interact with it more because we need to explore. Our stream is small and the path of least resistance didn’t offer many options for bends. So we have used large rocks and plants to provide that hidden mystery element. Also due to budget restrictions, the more bends i put in, the more pond liner i’d have to buy.
Hiding the liner
-Use small rocks or gravel on the stream bed. As it looks much nicer than seeing the black pond liner, and will also provide you with the breeding grounds for our beneficial bacteria. These tiny organisms will colonise all that added surface area purifying the water that passes over it, keeping it healthy and algae free.
Framing
-Use large rocks to frame your bends and or waterfalls. This allows for a more natural look, position these first as it will give you some structure to build upon. As well getting the heavy lifting out of the way first.
Plants
-Add plants to the stream. You can add oxygenating plants to the shallow areas. Low growing ground covers in the areas that you want to see past or be able to approach the water. Then taller plants to add physical and visual barriers, but also they will provide you with that nice framed backdrop. Whilst the plants are beautiful to look at, they also give us another layer of additional filtration. Those friendly beneficial bacteria will also colonise that added surface area that the roots provide, not to mention that the plants are going to consume any excess nutrient load, again helping us keep that unsightly algae at bay.
Avoiding punctures
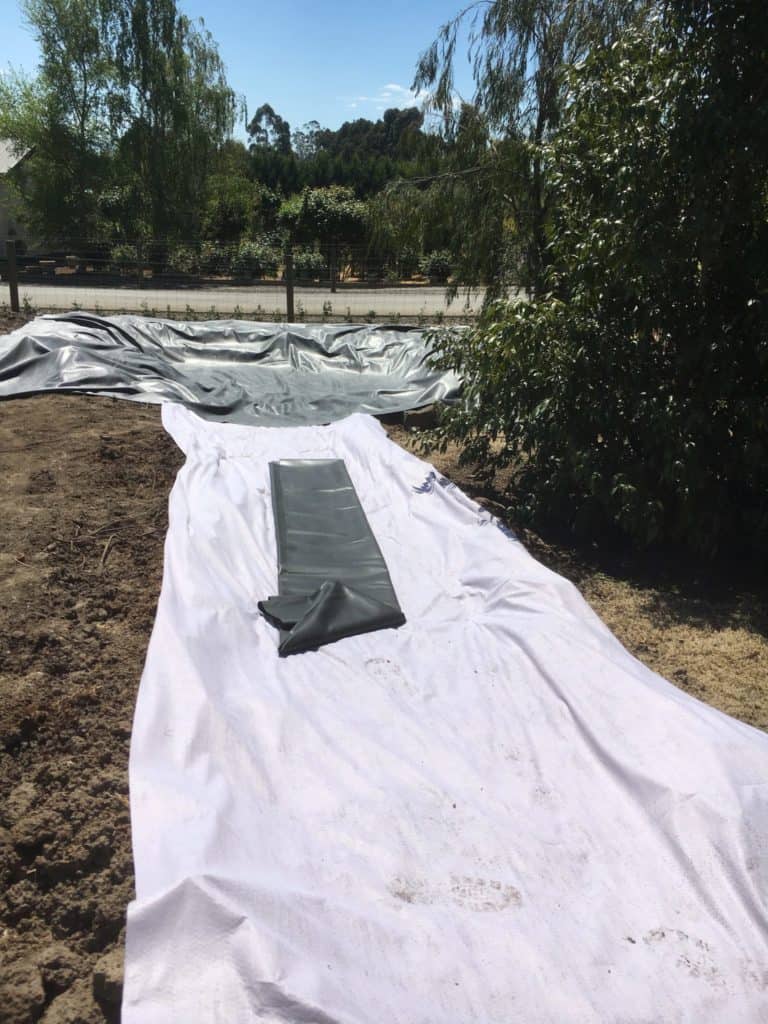
– Obviously remove any rocks and roots before you install your underlay and pond liner. No point ruining all that hard work and money by cutting corners and possibly puncturing your liner.
Equipment we used creating our DIY garden stream.
Shovels or even better a bob cat-
-A good digging shovel or even better, a few friends with shovels! A bobcat if you have the possibility of using one within the chosen area. A Bobcat would’ve done ours in half an hour but we had our water line coming into the house throughout the area, so again, budget restrictions and I didn’t wanna hit that main water line, so… shovels it was!
Underlay
-We used a geo textile underlay, which I picked up at a great price on eBay.
Pondliner
-The pond liner is by far the most costly expense. We used EPDM pond liner. This stuff is super strong it can apparently expand 400% before it punctures. It’s been used in pond construction for over 50 yrs and still going strong. It’s fish and plant safe. UV stabilised. And well… it’s the most important component of the stream, heck, it holds the water in and i want to be enjoying this stream for as long as possible. So no compromises were made on the quality of the pond liner.
Pump
-We used a 24volt pond pump which allowed me to install it myself, without the need for an electrician. In hindsight I do wish I probably had hired an electrician and installed an outdoor power point as this would’ve given me far more options on pumps. The pump I used was a hozelock cascade LV3000. I was able to extend the cable to cover the distance from the house to the pond. It also had two outlets which allowed me to have a small waterfall as well as the stream running off the one pump.
Waterfall foam
-To help channel water over rocks and not under, into areas where the water won’t be visible, we used water fall foam. This was critical for us because we had a low flow of water, we needed to make sure every drop was visible. I think this would be less important if we had a higher flow of water traveling down the stream.
Hose
-I bought the 1” ribbed hose off eBay again, this was nice and cheap. A few clamps to secure the hoses to the outlets, which i didn’t end up using. It’s much easier to carry out my pump maintenance by removing the hoses and pulling the pump out.
Rocks
-Finally, the rocks. For the big feature rocks i scoured second hand sites. The smaller river rocks and pink granite we purchased from our local landscape supply centre.
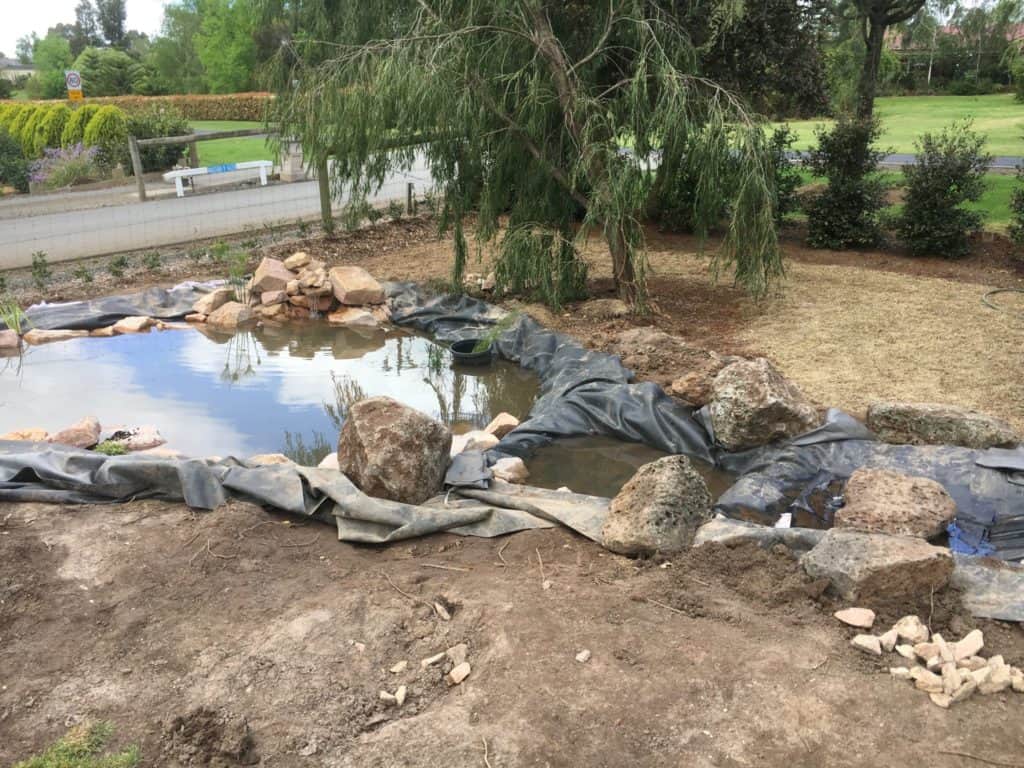
Check out our DIY wildlife pond
