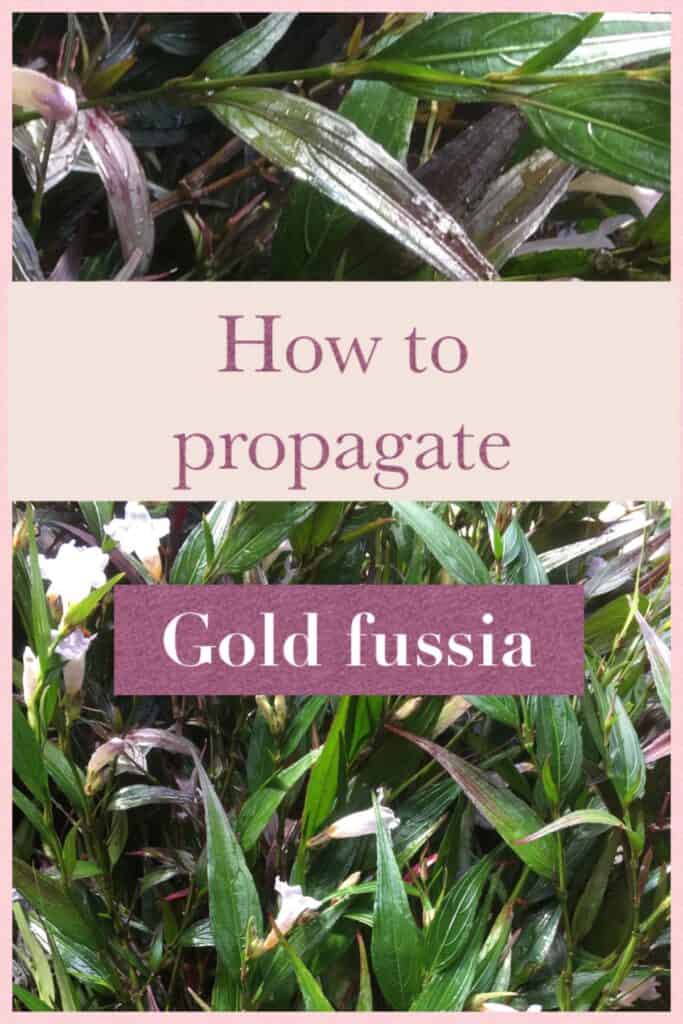
This is an article showing how we propagate Strobilanthes anisophyllus (Gold fussia) using cuttings. Here in Australia it’s always be known as Strobilanthes anisophyllus, but it is also becoming known as Strobilanthes persicifolia, either way the common name of “gold fussia” seems to have remained constant.
The cuttings in this article struck roots very easy and a success rate of over 85% was achieved. Our set up is very basic, just a simple green house. No bottom heat was provided.
It’s a great little shrub with interesting foliage, here in Gippsland we grow it in a shaded area, where it doesn’t bear the full brunt of our frosts. It produces small mauve, trumpet shaped flowers in a big burst in spring and then intermittently throughout the year.
Harvest the cuttings
The best time to take the cuttings from gold fussia is early spring and early autumn. Cuttings of gold fussia will work throughout the year but we find this to be the optimal timing.
Cuttings taken in the heat of summer tend to stress quite easily, whilst cuttings taken in winter just take too long to root. Of course that may be able to be remedied with the use of bottom heat, supplied through a simple heat mat.
Tip cuttings are the best part of the stem to use as a cutting, but if we are short on stock and need to boost our numbers we will also use cuttings from further down the stem. Just as long as the stem is not too thick.
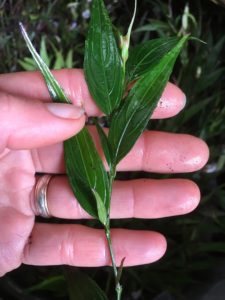
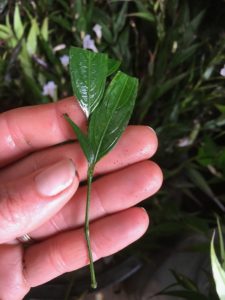
We like to have a cutting length of about 7-10cm (3-4″) we cut the stem just below a leaf. The area where the leaves emerge is commonly referred to as a node. Generally, this leaf node is where the roots will emerge from.
We then strip away the bottom leaves from the stem, by sliding our fingers straight down in the opposite direction of the leaves. The remaining leaves at the top of the cutting are lightly pruned up to 50%, this reduces the amount of foliage the cutting needs to support without a root system. (see pictures below)
Always take a few extra cuttings than you need, as they won’t all survive.
Striking the roots
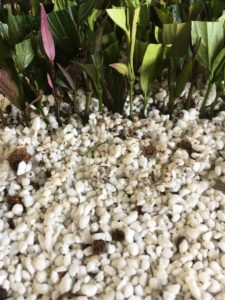
Once you have your cuttings they need to be put into a mix that will keep them nice and moist, whilst still allowing good air flow. We use a perlite & peat moss mix. Our preferred mix is 90% perlite with 10% peat moss.
Both perlite and peat moss have excellent water retention capabilities and are sterile with a neutral pH. It’s our preferred medium for almost all the cuttings we take in our nursery.
We like to place the mix into a shallow seedling tray with drainage holes. Lightly water the mix to firm it up. We then use a small bamboo skewer to insert a small hole into which we can place the cutting.
Once all our cuttings are in the mix water thoroughly ensuring water flows freely out of the drainage holes. You don’t necessarily need to use a seedling tray and old pot will work just as well.
The cuttings must be kept in a sheltered area. This area needs to be out of direct sunlight and wind. We use our greenhouse to store our cuttings in. It has a shade cover to protect from direct sunlight and a plastic cover that keeps the cuttings protected from the wind. Wind and direct sunlight will quickly dry out the cuttings. Before we had a green house we kept cuttings on our back porch, it provided adequate shelter.
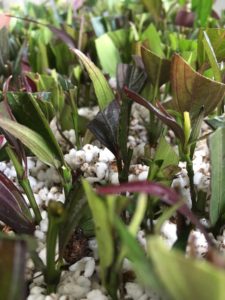
While waiting for the roots to develop it’s really imortant to keep the perlite and peat moss mix moist. Check it daily!
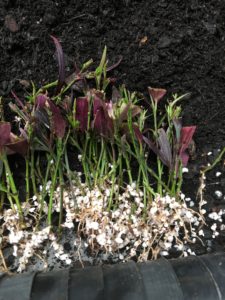
Expect the roots to strike between 6-12 weeks. Small roots develop very quickly but allow them to grow to at least 1-2cm before potting into soil.
Potting
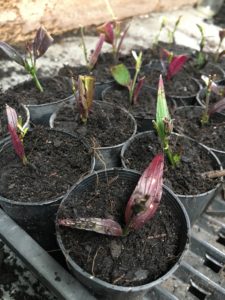
Once the roots have struck, your cuttings can be potted into a soil mix. Use a good quality potting mix, with plenty of organic material and trace elements.
Because we pot up such a large number of cuttings we use small 50mm (2″) pots. If you’re only doing a small number, pot them into a 100mm (4″) or 150mm (6″) pot. The plants will be able to remain in these pots for up to 12 months if necessary.
We like to water the freshly potted plants with a seasol mix, we find this greatly improves the root growth and thus overall plant growth and health.
The freshly potted plants should be stored in a sheltered area at least for the first month or so, to allow some more robust root and foliage growth before being fully exposed to the elements. Once the roots are filling your pot of choice and the plants have doubled in size, it should be safe to plant them into the garden.
We do hope this article on how to propagate gold fussia has been helpful. If so we would love it if you would subscribe . Happy planting 🙂
Below is a short video showing the above steps.
Click here to see more plants we propagate
PROPAGATION KIT
We have also put together a resource page that contains links to the products we use or similar. If you want to check that out click the link.
Strobilanthes propagation video
Strobilanthes anisophyllus or persicifolia information
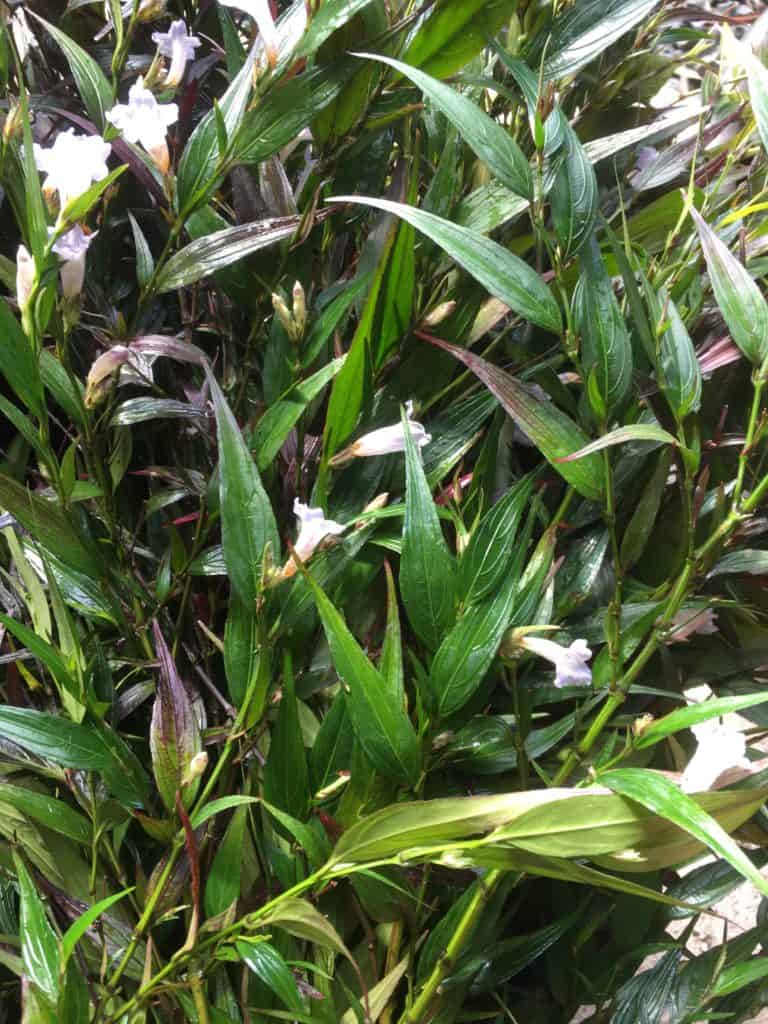
Gold fussia is a small evergreen shrub. It has narrow green leaves which turn a deep purple in full sun or cold weather in shaded areas. It produces small trumpet shaped flowers in large numbers during spring and sporatically throughout the year.
A great choice as a foliage plant. Here in Victoria, Australia we plant it in semi-shade to full shade to protect it from heavy frost. In more temperate areas it can be grown anywhere.
Grows best is moist well draining soil. Responds well to pruning. We like to prune either in spring or early autumn.
CULTURAL NOTES
Botanical name: Strobilanthes anisophylla or persicifolia
Common name: Gold fussia, Willow leaf persian shield
Family: Acanthaceae
Native to: Asia
Flowers: Mainly spring
Position: Full sun, part shade, shade
Height: 1m-1.5m
Width: 1m
