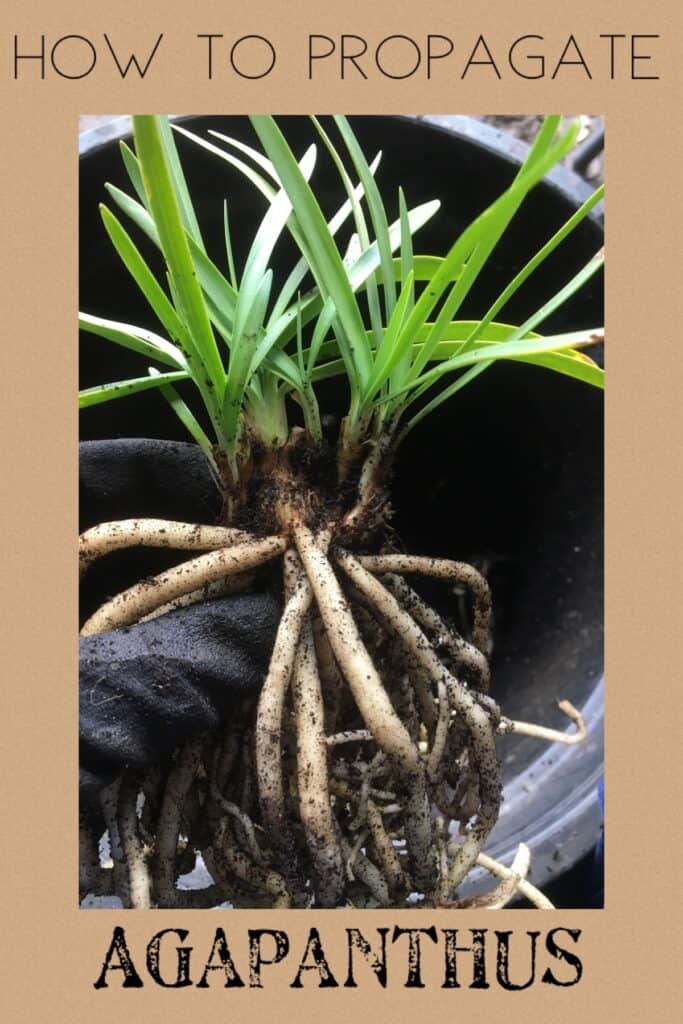
How to propagate Agapanthus
This article will describe the way that we propagate agapanthus in our nursery. We prefer to use division as the plants produced will then be true to form.
Seed is also a viable propagation method, however the plants will have genetic variations. Their colours will be different, their habit may vary. Whilst this may not bother some people looking to mass plant agapanthus, for the nursery it’s important the plants are the right colour and grow to the right size.
The plants in this article and the photos that accompany them, are Agapanthus dwarf white. We have grown them by seed before and many flowered blue, it was quite a disaster, certainly not what retail buyers are expecting. So now we purely stick with division.
Selecting plants
Agapanthus have very strong root systems and form very dense clumps. For this reason we much prefer dividing younger plants that are in pots.
Sometimes however you may need to divide a large existing clump. The method outlined here will still work, I would just cut the foliage to about an inch or two above ground level. This will help reduce shock on the plant as there will be quite a lot of root trauma.
Having said that, Agapanthus are a very hardy robust plant and will quickly bounce back from such abuse.
So as mentioned we prefer plants in pots. These plants were in a 14cm ( 6″) pot. Look for plants that are clumping well. We find one pot this size will give us between 5-10 individual plants.
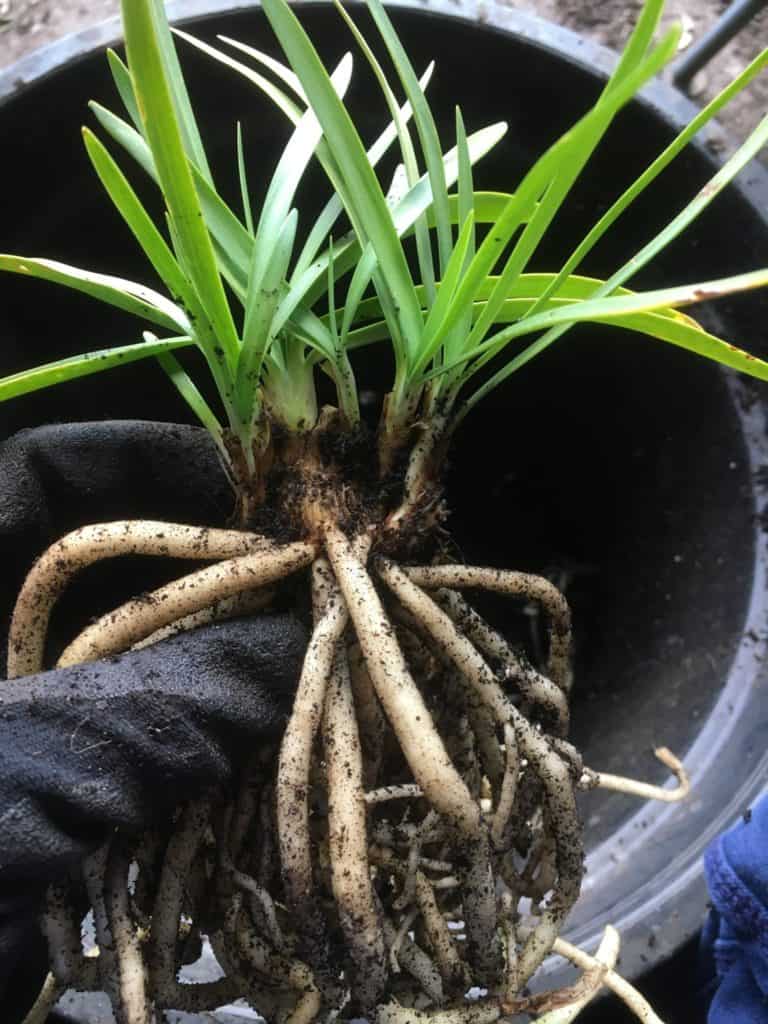
Removing soil
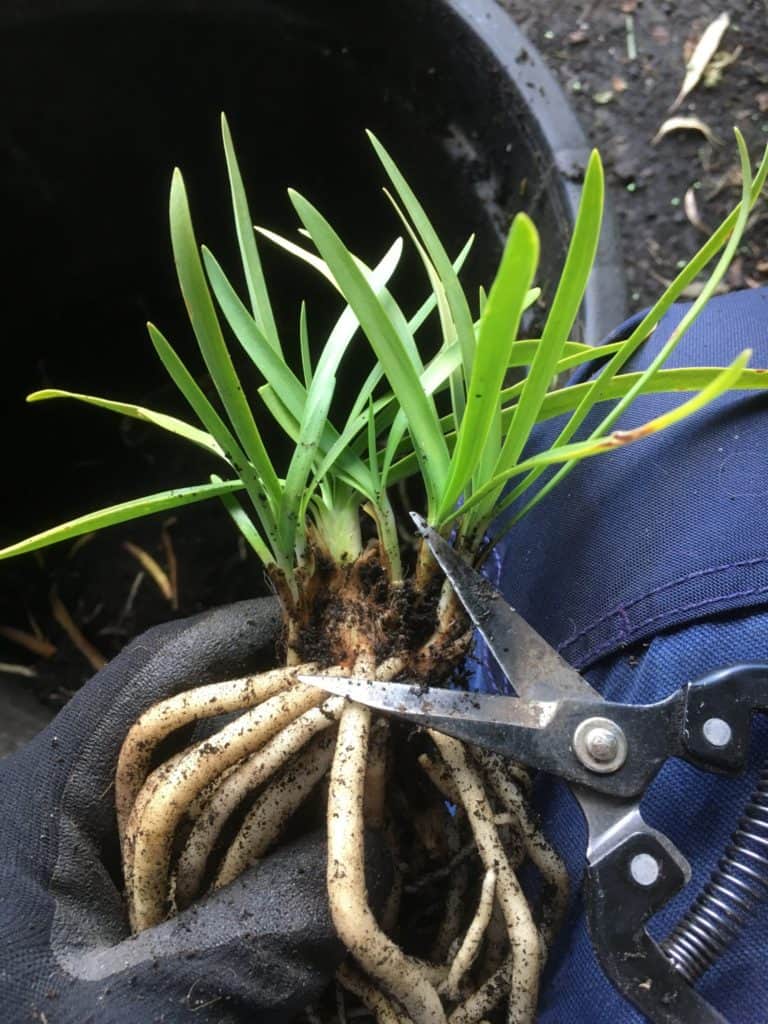
Cutting into individual plants
Dividing
Dividing the plants is far easier if you remove as much soil from the roots as possible, this will also help remove any unwanted weed seed. We find shaking the clump the most effective way, because the plants are in potting mix it falls away easily. If you’ve dug one out of the garden, this will be much harder.
It helps if you can allow the soil to dry out a little. Agapanthus can handle periods of dryness.
If digging up an existing clump in a clay you’ll need to hose the roots with water to remove as much clay as possible. If the clump is really large shop it into more manageable sections using a shovel.
Once the roots are exposed it’s easier to see where you will need to cut, in order to turn the clump into multiple plants.
Clumps removed from pots can easily be cut apart using secateurs, sometimes they will even pull apart with just gentle pulling. Whilst larger clumps removed from the ground, may need a large knife to be more effective.
Whether using a knife or secateurs, make sure they are clean.
These plants that we removed from pots were able to keep almost all of their root system. However a clump dug up from the ground will have lost a lot of the root system. When this happens we cut almost all the foliage off the plant, this will reduce the stress on the plant and allow the root system time to regrow.
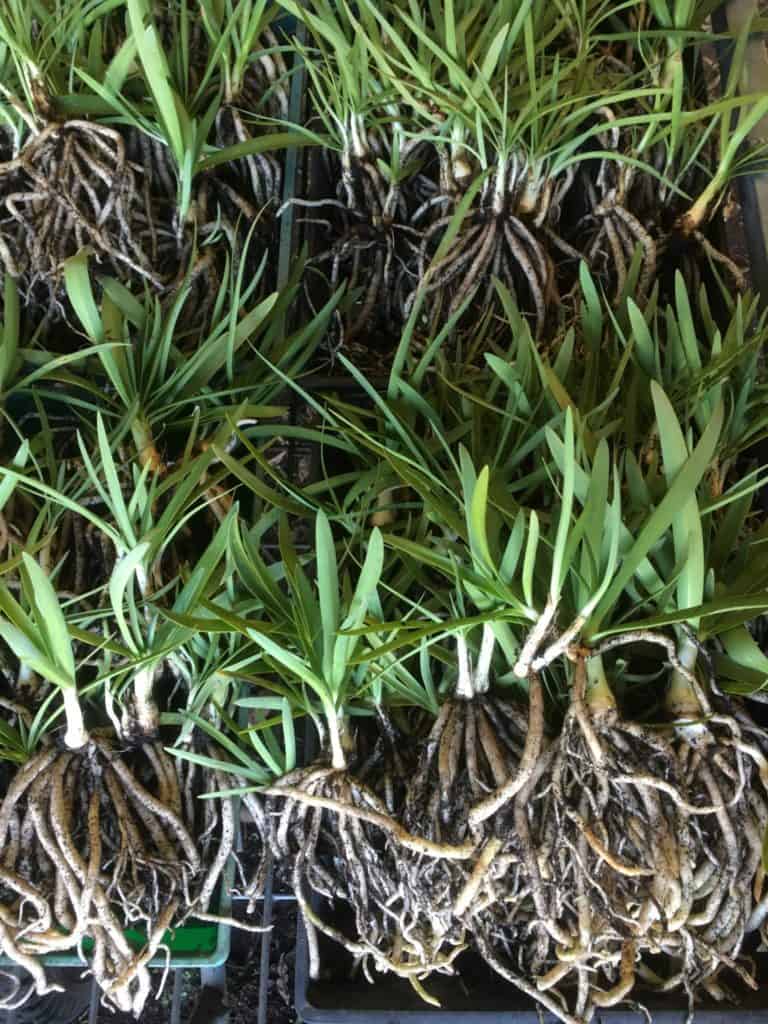
Plants ready for re-potting
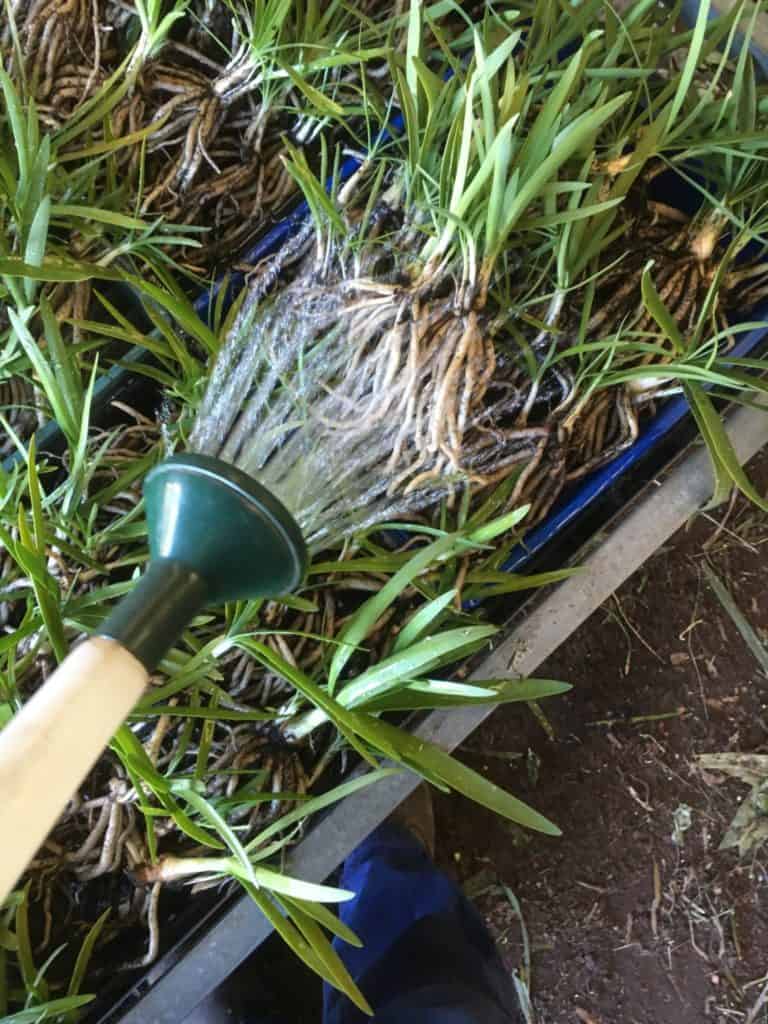
Keep bare rooted plants moist
Storing & Potting
If your only dividing a few plants you can pot or transplant them straight away. If like us your doing quite a lot, it’s important to keep the bare rooted plants nice and moist. We simply cover them with an old wet towel.
We have left plants like this for a few days at a time. Provided the towel remains moist the plants are fine. Even in summer. Just don’t leave in the sun, keep them in a shaded area.
Because we planted these into pots we use a good quality potting mix, with trace elements and plenty of nutrients. These could be potted directly into the garden. If planting directly back into the garden, this is a job I would do in early spring. Good rainfall and growth occuring.
While Agapanthus are quite drought tolerant, dividing can be quite stressful on the plant. Severe frosts can also knock around young plants. So waiting until frosts have past, but the weather is still cool, you’ll allow the plants eniough time to establish before the summer heat.
As we are potting into pots, this is not a worry for us. We have divided agapanthus at all times of the year. This is because in the nursery, the plants will be more nurtured than if placed directly into the garden.
If the time of year is not conducive to planting out into the garden. Planting them into pots to allow them to establish for a more suitable time to plant is a better idea. Once they are established in the pots with a nice strong root system, they can then be planted anytime you desire.
We provide the freshly potted Agapanthus plants a small amount of control release fertiliser and we also water them for the first time with a seasol (seaweed) solution. We find this reduces any shock and provides quick and healthy root growth.
Whether planting directly into the garden or into pots make sure the first water is thorough.
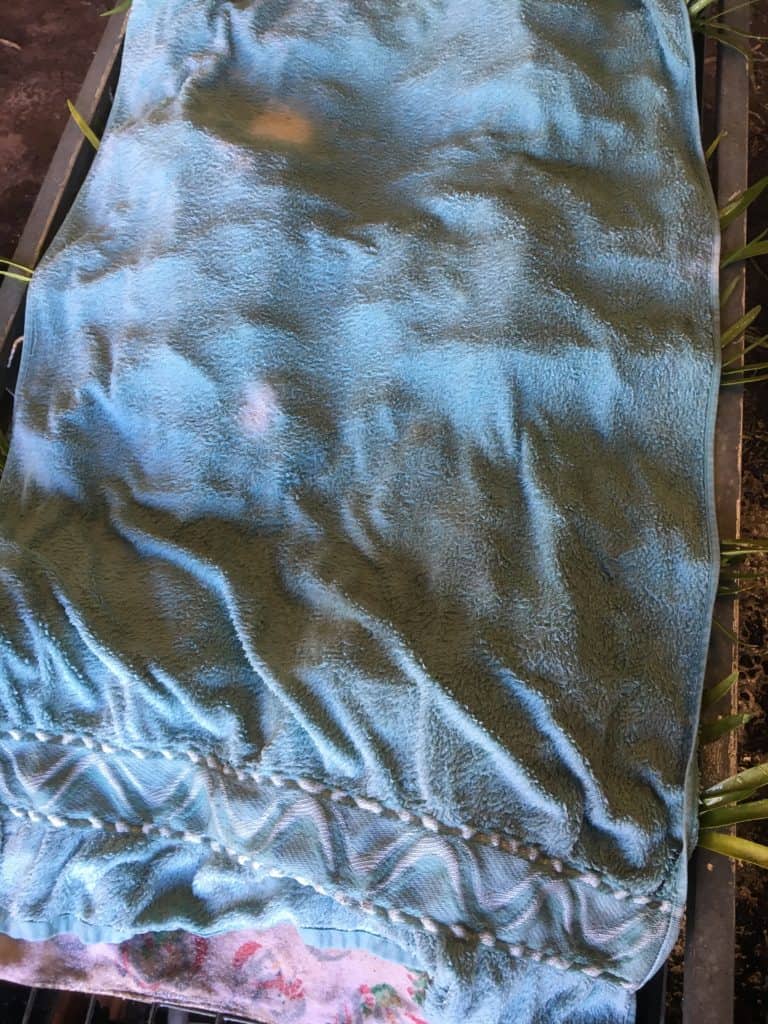
Agapanthus covered with wet towel
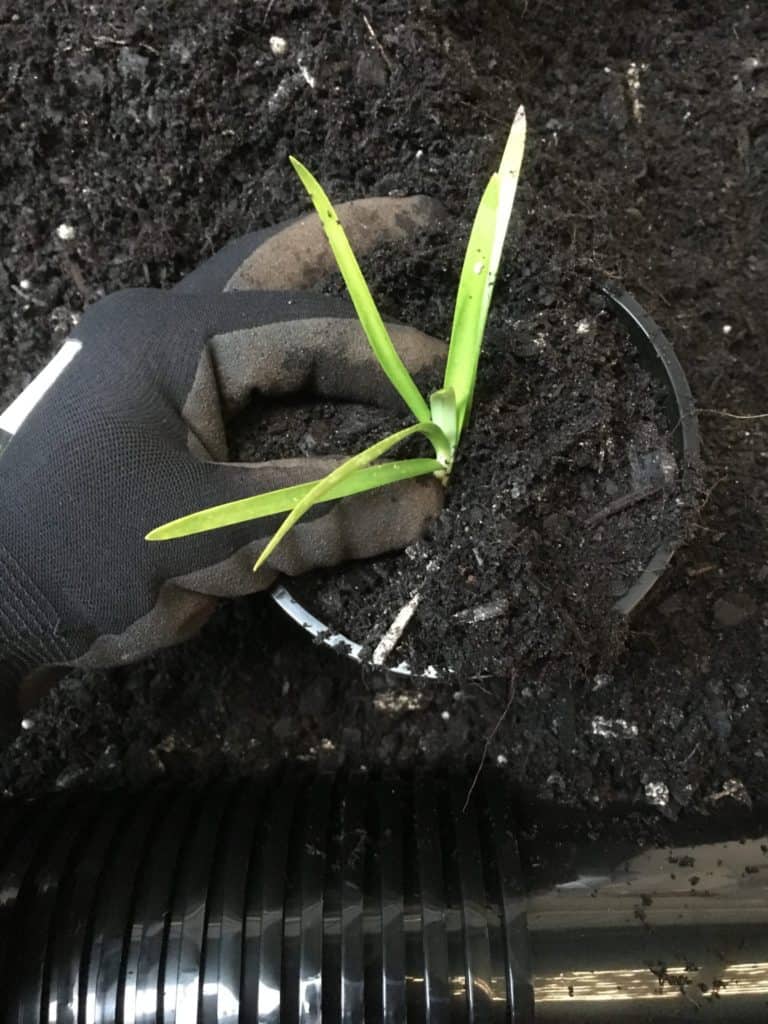
Potting Agapanthus
2-3 Months later
It took a few months, but these plants have now developed a nice healthy root system and some have even started to show flower spikes.
That’s how we like to propagate Agapanthus. We do hope this has been helpful and would love it if you’d subscribe. Happy Planting:)
Below is a short video showing the above steps.
CLICK HERE TO SEE OTHER PLANTS WE PROPAGATE
Propagation Kit
We have also put together a resource page that contains links to the products we use or similar. If you want to check that out click the link.
Dividing Agapanthus Video
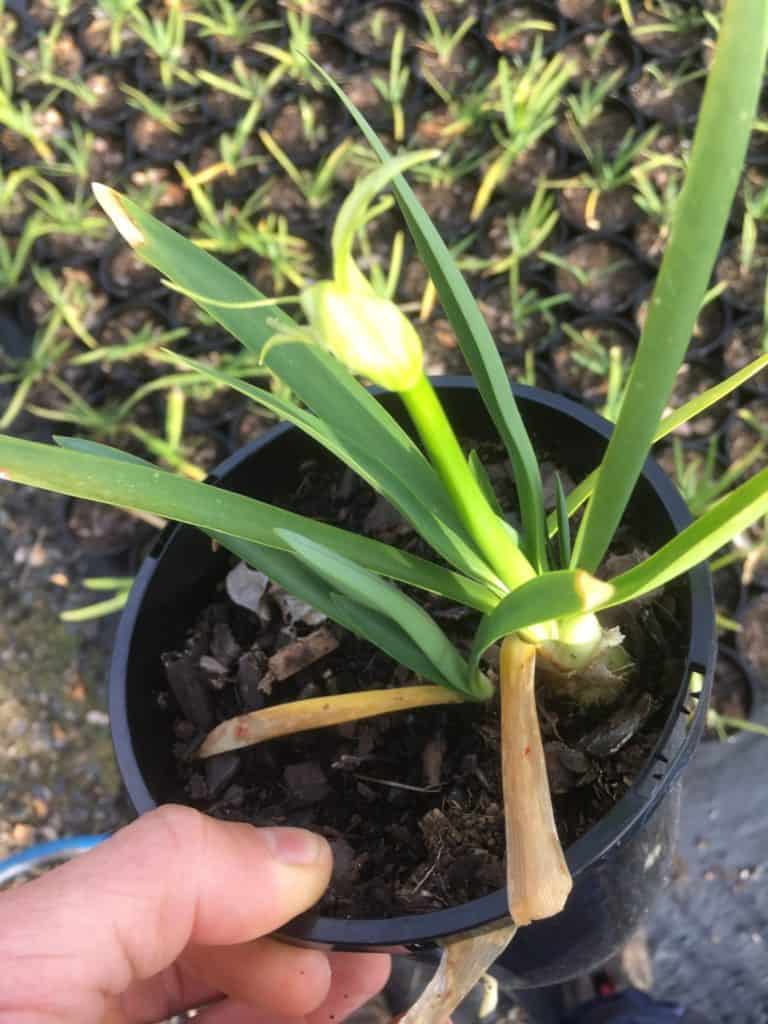
Agapanthus- Dwarf White
Agapanthus- Dwarf White is a compact clumping shrub. It has green strappy leaves. In spring into summer it produces clusters of white trumpet like flowers on long stems.
A common choice for lining long driveways. Suitable for use as a fire break on rural properties. Can also be used in containers, borders and seaside gardens. It’s a good idea to remove flower stems after flowering to prevent self seeding and eradicate weed control issues.
Tolerates almost any soil conditions and light levels. Super hardy plant once established. Clumps can be divided in winter if desired.
Cultural notes
Botanical name: Agapanthus- Dwarf White
Common name: Lily of the Nile
Family: Amaryllidaceae
Native to: South Africa
Flowers: Spring-summer
Position: Full sun/Part shade/ Shade
Height: 40-50cm
Width: 50cm
