Westringia fruticosa or native rosemary is a great Australian native plant. Its good for hedging, grows fast and can be used in harsh costal environments. These plants are very popular here in Australia and are readily available in garden centres and nurseries.
But if you have a semi green thumb they are also a really easy plant to propagate. This short guide will teach you how we propagate them in our wholesale plant nursery.
Native rosemary comes in a few different foliage types and flower colours. The method we use in this guide will work on all variations of westringia fruticosa.
We propagate our native rosemary plants using cuttings. These can be taken at anytime of the year. Just be aware that roots will develop faster during warmer temperatures.
Often we will take cuttings in winter, it just means we need to be a little more patient waiting for the roots to develop.
Preparing the cuttings
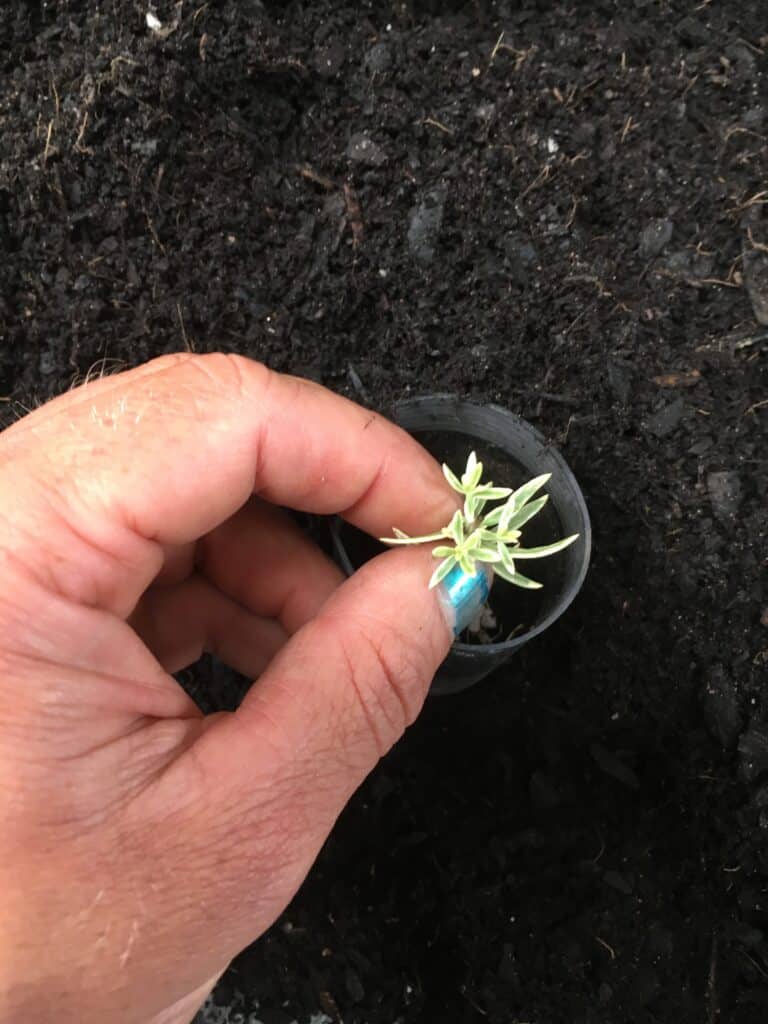
The cuttings work best if you select healthy young stems to take the cuttings from. I like to use the area more towards the base of the stem as it provides a stronger cutting. This just makes it easier to push into the propagation mix.
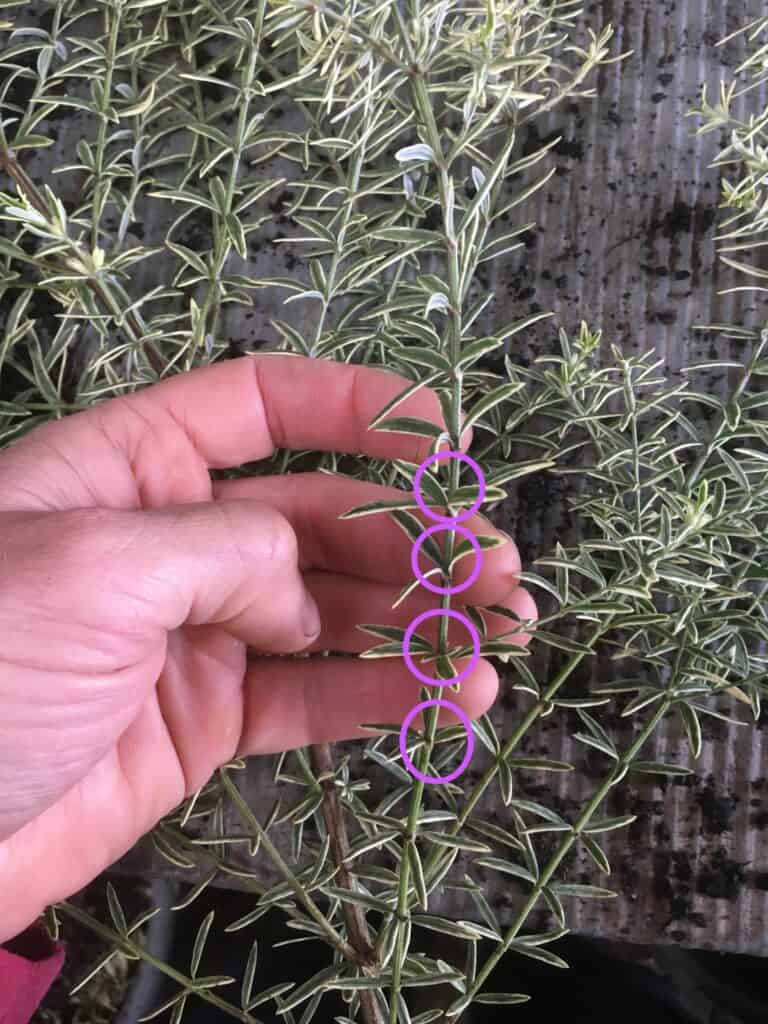
The leaf nodes on westringia plants tend to be evenly spaced. A leaf node is the part of the stem where leaves emerge.
So what we like to do is cut below a leaf node and strip away the foliage of the bottom two nodes. We then keep the foliage on the next two nodes and cut the stem.
It’s a little difficult to describe in words, below is a short slideshow/ video showing these steps.
Whenever taking cuttings be sure to prepare more than you need. There will always we some losses along the way.
With our westringia cuttings we get a very high success rate of over 95%, but keep in mind this is our job.
Once you have your cuttings its time to plug them into a propagation mix so that they will generate roots.
The propagation mix
We almost always use a perlite and peat moss blend to strike roots on our cuttings. We mix the blend ourselves using 90% perlite with 10% peat moss.
This blend has been proven time and time again and we haven’t changed it in over 15 years.
Perlite and peat moss are very cheap, easy to work with and readily available. You can buy them both online or at local hardware/garden centres.
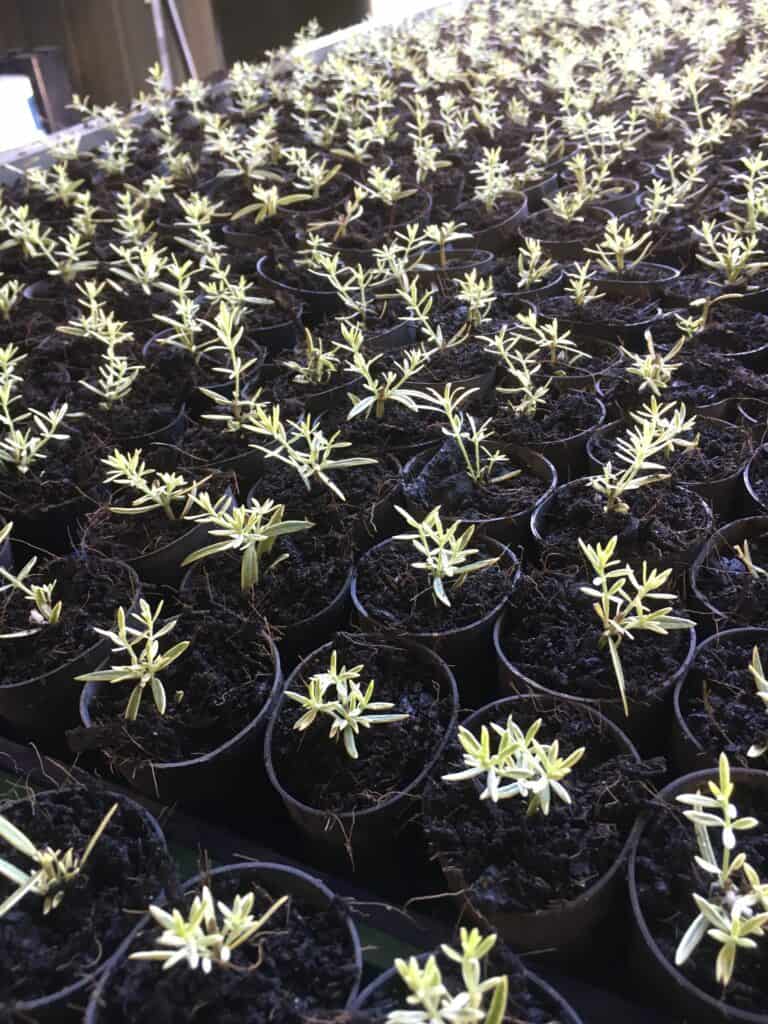
We mix ours into seedling trays but you could use small pots or any container that will allow water to drain away.
The cuttings are plugged directly into this mix. The section of the cutting that has been stripped is placed into the perlite/ peat moss blend.
I like to water the mix lightly before plugging the cuttings in, i find it easier and cleaner to work this way.
Once the cutting are in the mix they need a through watering. The mix will need a water every few days. This will depend on the time of year and the temperatures.
The important thing is that the cuttings and propagation mix don’t dry out!
Keeping the cuttings in a well lit but sheltered area is also important. Direct sunlight and wind will quickly dry out your cuttings and most likely prove fatal.
We place ours in our igloo (greenhouse), but for the home gardener a well lit area indoors, or on the porch, or verandah will be just as effective.

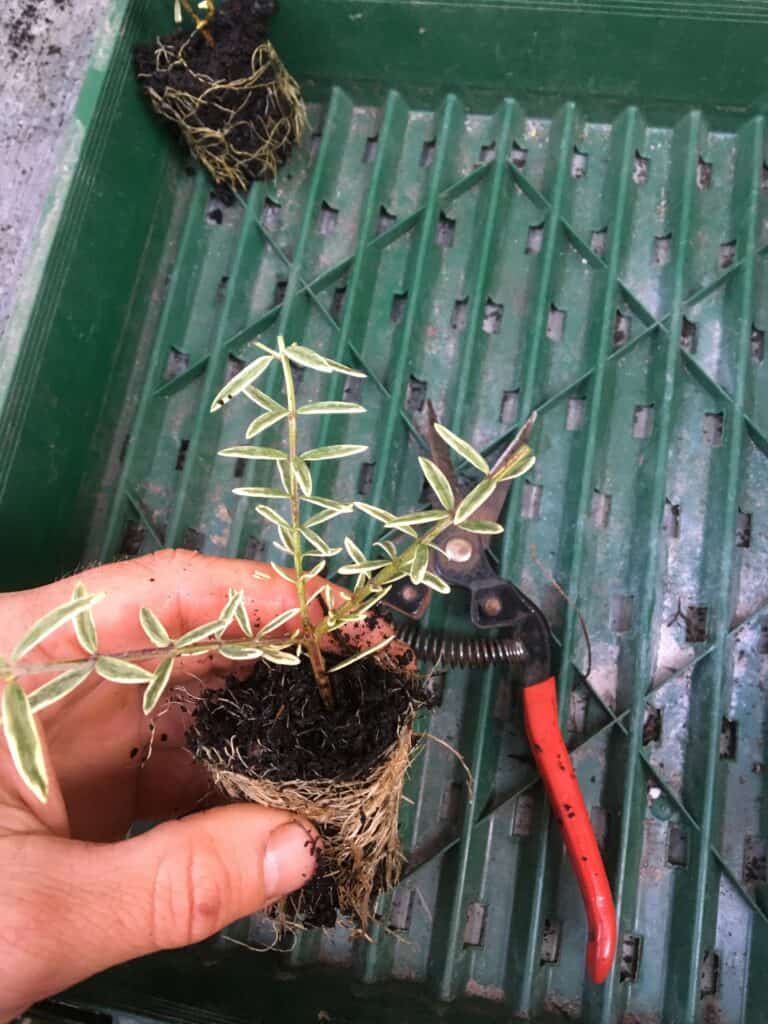
Allow around two months for a solid root system to develop. Remember the roots will develop faster during warmer temperatures. Or slower during cooler temperatures.
Once your cuttings have good root development they can be planted into a good organic potting mix. Now that the cuttings have roots they are able to soak up nutrients and minerals within the soil.
Growth will occur quite quickly once the cuttings are planted into the soil. Sometimes they will grow so fast they become leggy and not so bushy, if this happens don’t be scared to give them a prune by up to 50% to encourage a more bushy/ stronger plant.
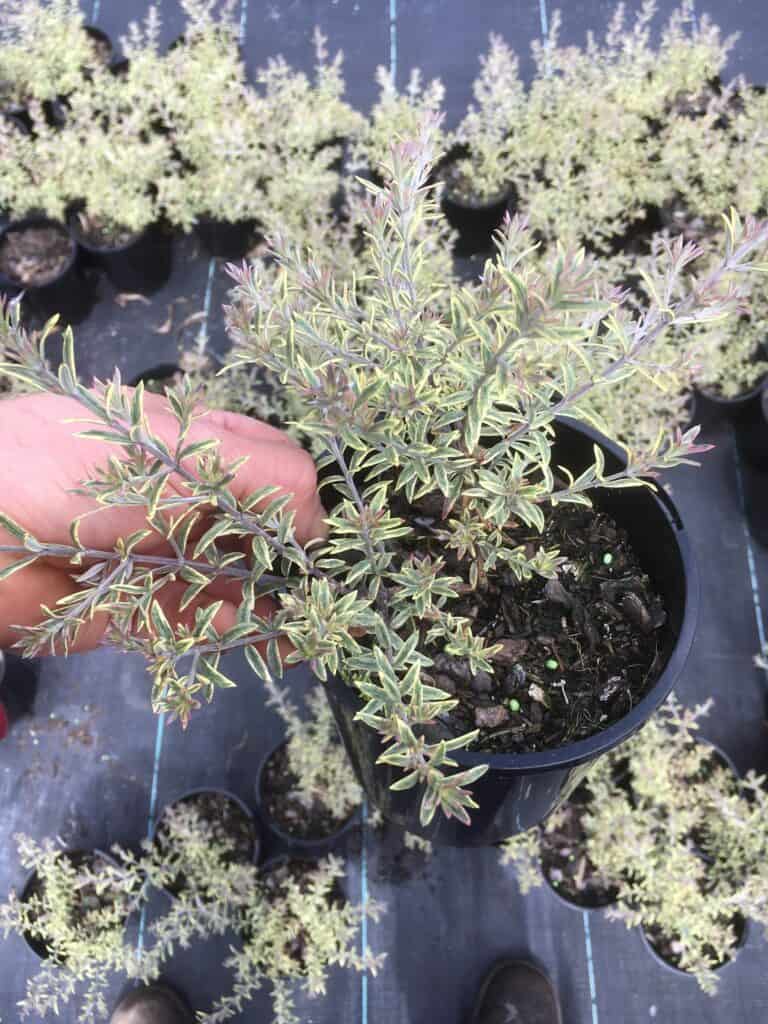
Before we pot ours into their final pot we always prune them to promote strong, bushy growth.
Anyway once the roots are well established within the potting mix they can be planted into larger pots or directly into the garden.
If you’ve enjoyed learning how to propagate native rosemary why not check out some of the other plants we propagate. We propagate many different plants and are slowly adding them to our website.
You may also be interested in joining our mailing list.