
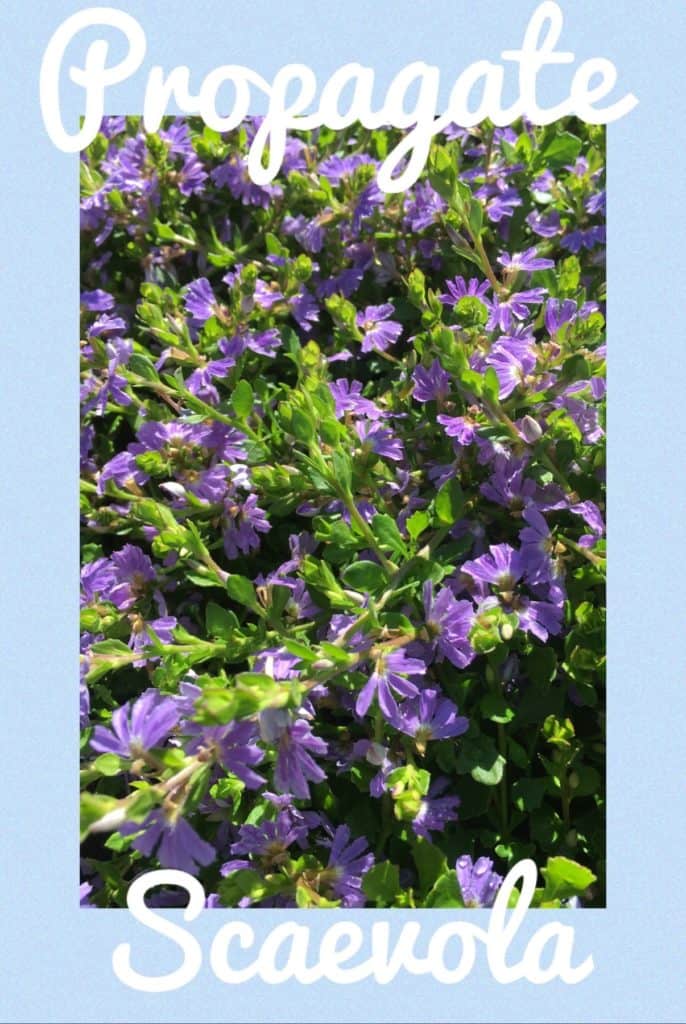
How to Propagate Scaevola (fan flower)
In this article we are going to show how we propagate scaevola albida (mauve clusters). The method we use is cuttings. We took these cuttings in mid autumn. The plants were ready for the garden by the end of winter.
Taking cuttings
Find yourself a nice healthy plant you wish to clone. A cutting is essentially a clone of the parent plant. We had a nice healthy plant in a container we harvested these cuttings from.
The best time of year for scaevola cuttings we find is spring and summer. They will work all year but we find that the success rates drop significantly when the weather cools down. We have a very simple set up, obviously if you can use a heat mat success rates should remain high even in cold weather.
If taking the cuttings in cooler weather just be aware that the success rate might be less than ideal and take more cuttings to offset your losses.
For scaevola we prefer to take cuttings from the tip of the stem. Avoid using tips that are flowering as the plant will try to turn the flowers into seed instead of growing roots. If the cutting does have some flowers you can simply pick them off with your fingers.
The cutting should be approximately 2.5″(6-7cm) in length. Remove the lower half of the leaves by running your fingers in the opposite direction along the stem. Cuttings should look like those pictured below.
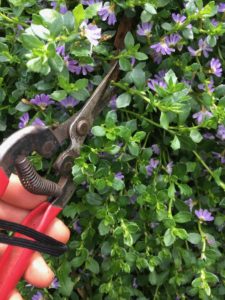
Harvesting scaevola (fan flower) cuttings
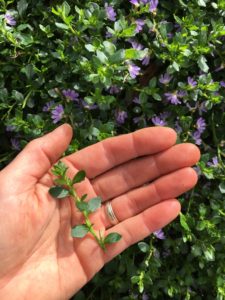
Tip cutting, Scaevola albida
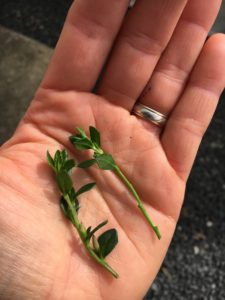
Right cutting has lower leaves striped
Striking the cuttings
We almost always use a perlite peat moss mix to strike our cuttings. It’s easy to make 90 % perlite to 10% peat moss.
Both products have excellent moisture retention capabilities, which is essential for stimulating root growth in our cuttings.
Place the mix into a seedling tray with drainage holes or if you prefer a small pot.
Water the perlite peat moss mix to firm it up. It’s very light weight and will not hold the cuttings in place very effectively if not wet.
Because the tip cuttings are very soft we need to use something to create a small hole in the mix. We use a small bamboo skewer, but whatever provides a hole close in diameter to the stem.
Plug all the cuttings you took into the mix. Then water the cuttings thoroughly, so that water freely runs out of the drainage holes.
The cuttings need to be sheltered from the elements during this stage. Most notably wind and direct sunlight, both will dry them out super fast.
Whilst waiting for the roots to develop the perlite and peat moss mix must be kept moist. Just test with your finger and water as required.
Avoid over watering as this can rot out the cuttings.
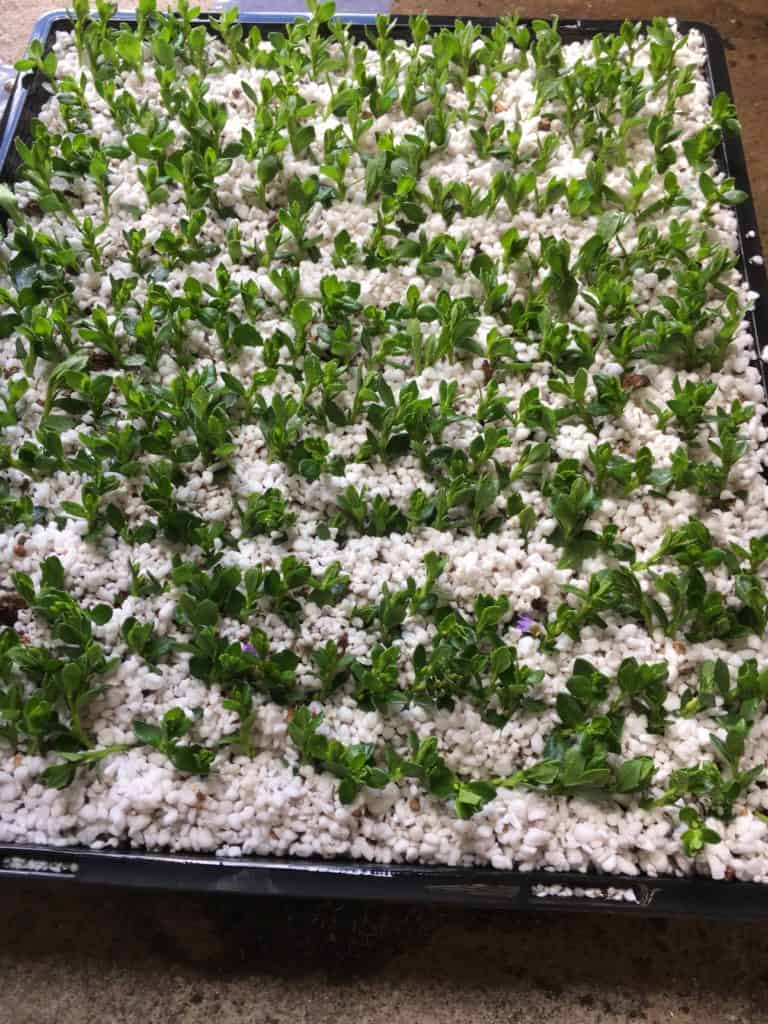
Cuttings in perlite peat moss mix

Potting the cuttings
The cuttings should be ready somewhere from 2-4 months depending on the time of the year. These cuttings were taken in mid autumn and had roots 2 months later (the weather was quite warm).
We always pot our cuttings once rooted into 2″ (5cm) tubes. This helps us save on room within our greenhouse, yet still provides a great root ball.
Use a premium quality potting mix when potting your cuttings. A potting mix with good trace elements, nutrients and minerals will give your young cuttings a great head start.
Whenever we are potting freshly struck cuttings we use seasol, its a liquid based fertiliser that we find greatly increase the speed in which the roots develop. Faster root development equals faster plant growth.
Wether you choose to use seasol or not ensure the freshly potted plants are watered in thoroughly. Water should run freely through the drain holes of the pot or tube.
Once the young plants have been potted store out of the elements once again. They are still quite vulnerable.
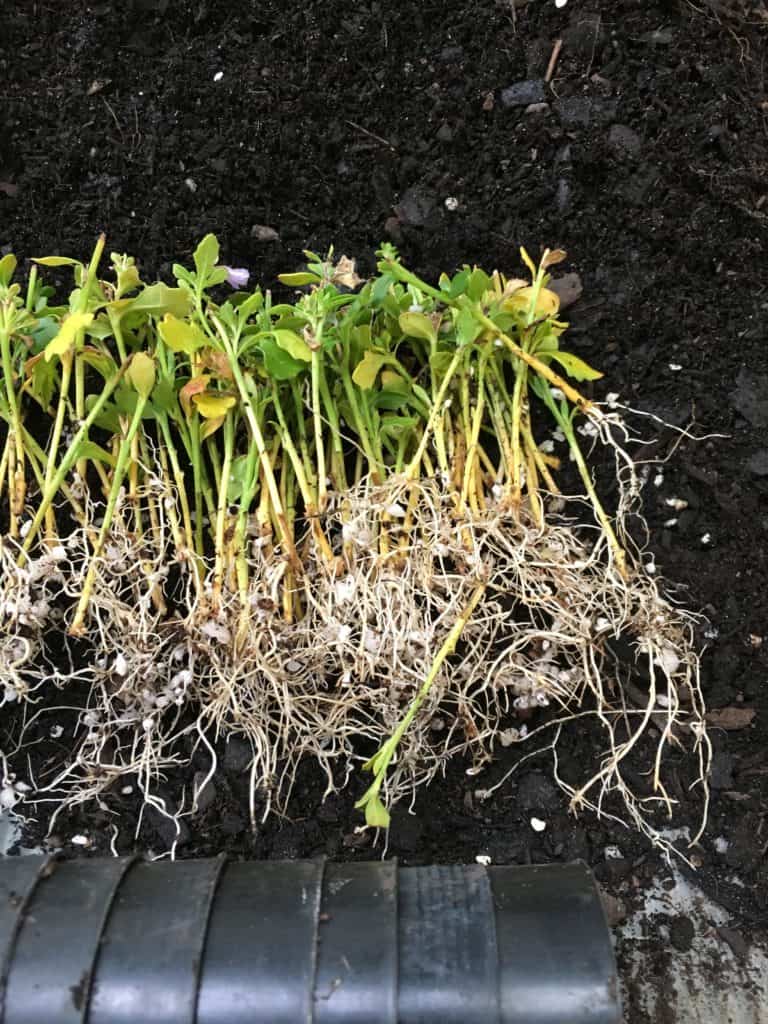
It should only take a month or 2 before the young plants are developed enough to be moved outside and planted in the garden. Just wait until the roots are emerging from the drain holes and there is plenty of new growth on the plant. (see pictures below)
And thats how we propagate scaevola (fan flower) albida- mauve clusters. We hope you’ve found this helpful if so please subscribe to our email list, so we can share more helpful content. Happy planting 🙂
Below is a short video showing the above steps.
CLICK HERE TO SEE OTHER PLANTS WE PROPAGATE
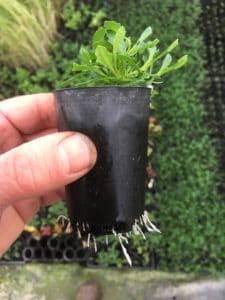
Scaevola roots emerging from pot
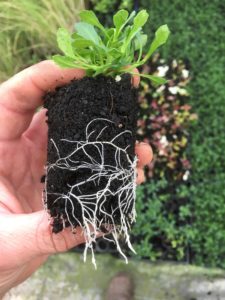
Scaevola root system ready
Propagation Kit
We have also put together a resource page that contains links to the products we use or similar. If you want to check that out click the link.
How to propagate Scaevola (Fan flower) Video
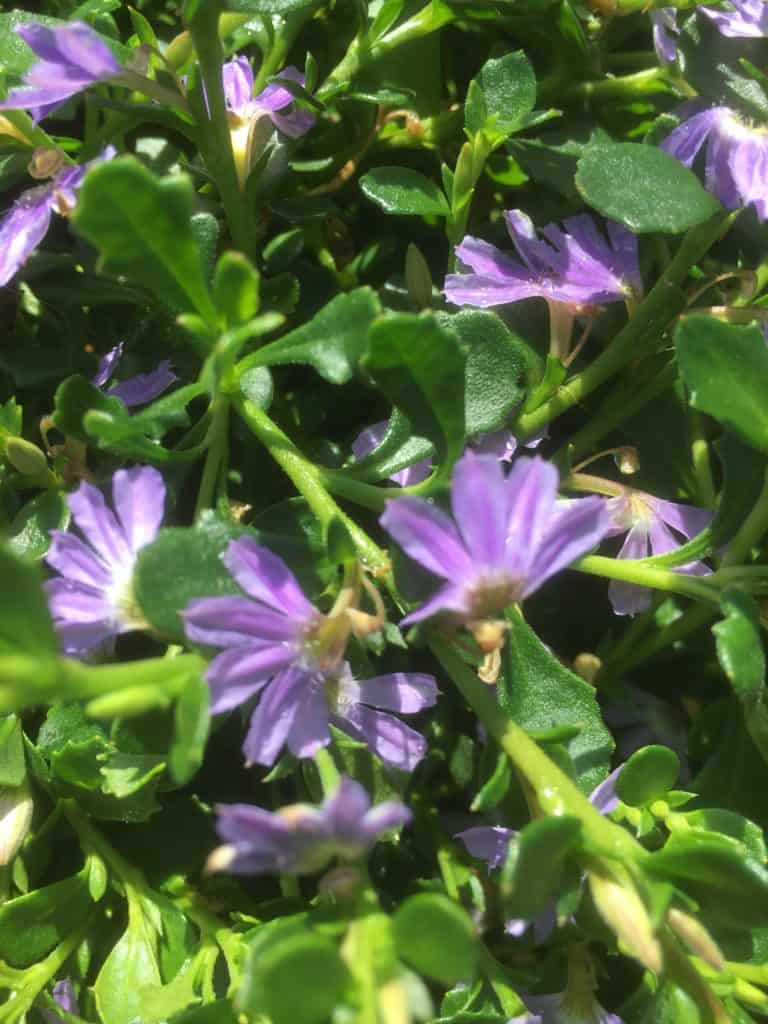
Scaevola Albida- Mauve clusters information & care
Scaevola albida ‘mauve clusters’ is a spectacular ground cover plant. Its almost completely covered in flowers during the warmer months. Bees love it.
Mauve clusters is great as a ground cover, cascading over retaining walls, spilling out of pots or coastal plantings.
This plant likes free draining, composted soil. It flowers best in full sun but does not mind part shade. Scaevola albida will benefit from the occasional deep watering during the summer months.
Cultural notes
Botanical name: Scaevola albida ‘Mauve clusters’
Common name:Fan Flower
Family:Goodeniaceae
Native to: Australia
Flowers: spring-autumn
Position: Full sun/Part shade
Height: 5cm
Width:100-150cm